Cornerstone guide
What grit sandpaper for auto body work?
Clear coat has opinions. So do we.
Auto-body sanding is a longer ladder than woodworking and a stricter one. The grit numbers go higher, the tolerances are tighter, and a skipped step shows up the moment the panel reflects a fluorescent tube. This is the sequence — by stage, by surface, wet versus dry — that gets a panel from welded patch to mirror finish without working backwards.
New to the grit numbers? Start with the complete grit chart.
The auto-body grit ladder
Most body work lives somewhere on this ladder. You almost never use every rung on one job — a clear-coat respray skips the bottom, a full strip skips the top — but the order doesn't change.
| Grit | Stage | Wet / dry |
|---|---|---|
| 80 | Body filler shaping, stripping to bare metal | Dry |
| 180 | Filler refinement before primer | Dry |
| 320 | High-build primer leveling | Dry |
| 400 | Sealer scuff, primer finish before base coat | Wet or dry |
| 600 | Base coat prep, scuffing for adhesion | Wet |
| 800 | Single-stage paint finishing, blend edges | Wet |
| 1000 | Heavy orange peel knockdown | Wet |
| 1500 | Clear coat — orange peel, runs, nibs | Wet |
| 2000 | Clear coat refinement before final polish | Wet |
| 3000 | Pre-compound, the last rung before polish | Wet |
By stage
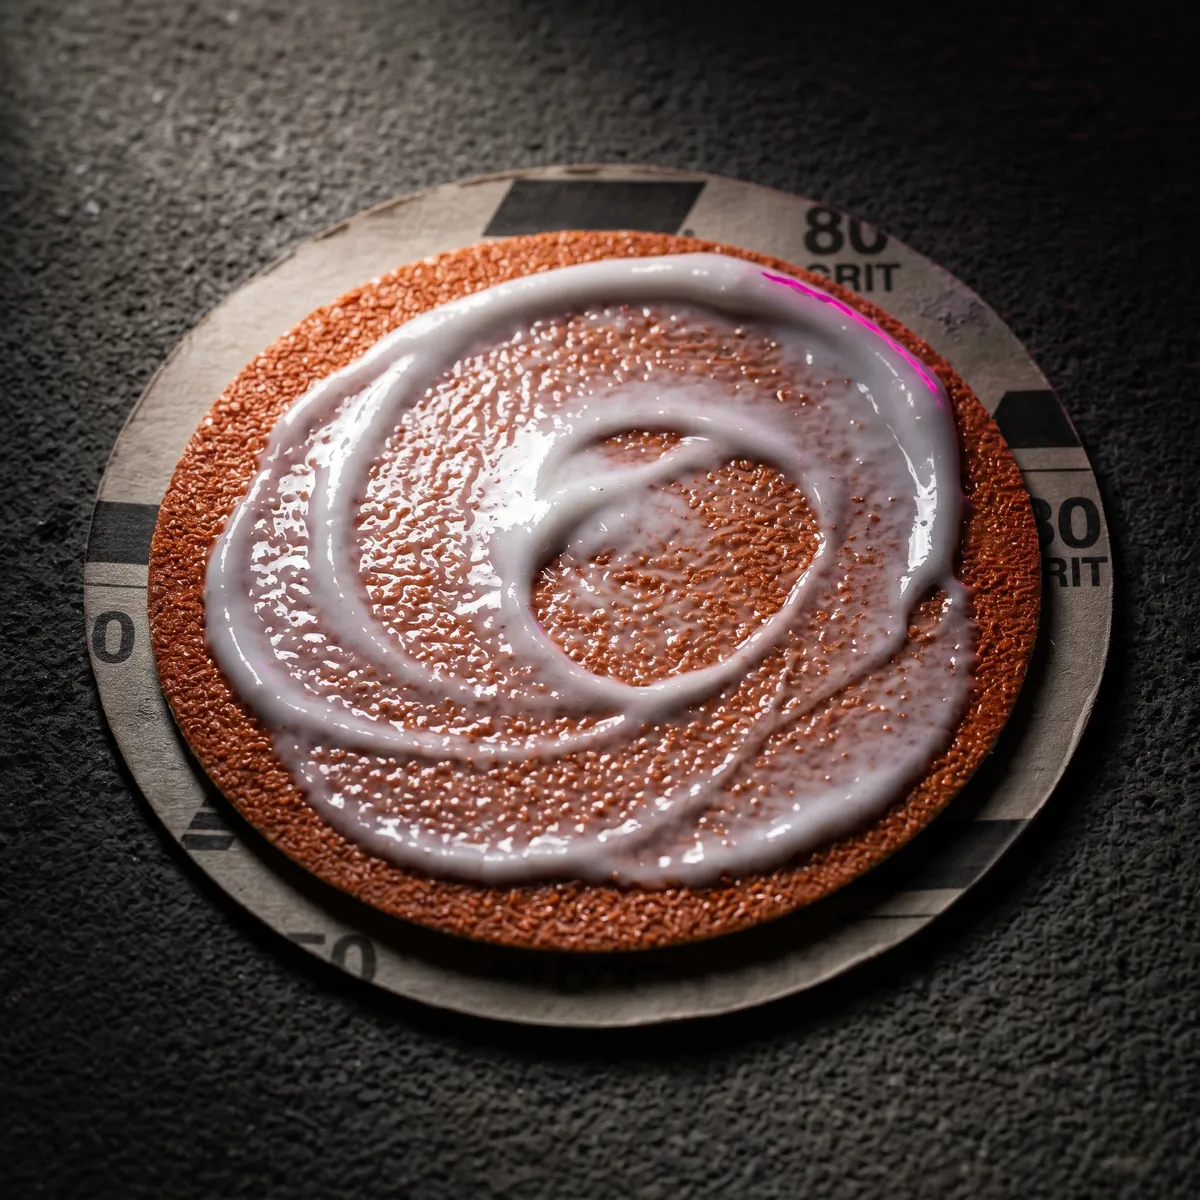
Body filler shaping
Grits: 36–80. Fresh filler kicks rock-hard. The first cut is about geometry, not finish — you're knocking the filler down to the contour of the panel, not making it pretty. 36 or 40 on a long board for the bulk; step to 80 to refine the shape and start feathering into the surrounding paint.
Use a long, flat block. A short pad or hand pressure follows every dip in the filler — exactly the dips you're trying to remove. See all 80-grit picks.
Filler refinement
Grits: 120–180. Once the shape is right, 120 then 180 dry removes the 80-grit scratch pattern. 180 is the last stop before primer — coarser than that and the primer can't fill the scratches; finer and the primer doesn't bite. Feather the edges into the surrounding paint here, not later.
Primer leveling
Grits: 240–320 dry. High-build filler primer goes on thick on purpose — it's meant to be sanded flat. 240 or 320 on a guide-coated panel reveals every low spot the filler missed. Block sand until the guide coat is uniformly gone. If you sand through to filler, that spot needs another coat of primer. This is the stage that decides whether the final paint looks level or wavy.
Sealer and pre-base scuff
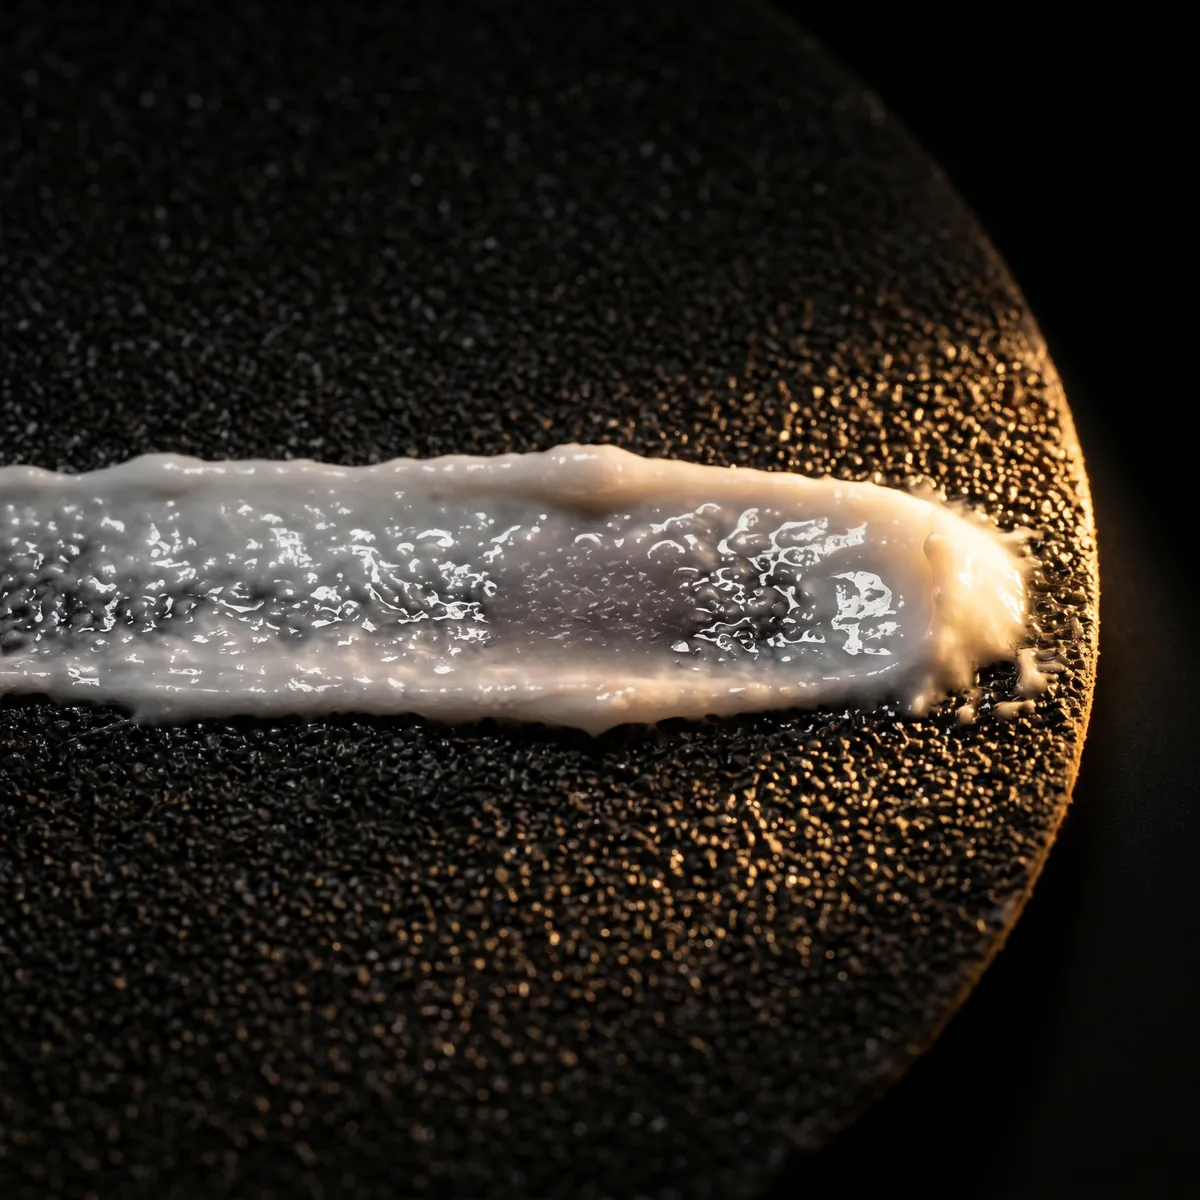
Grits: 400 wet, or 600 dry. The last sand before base coat. The goal is a clean, uniformly scuffed surface that the paint can bite into — not stock removal. Wet sanding starts to make sense here: the panel needs to be visibly clean and dust-free, and water keeps the cut consistent. See all 400-grit picks.
Clear coat wet sand
Grits: 1500 → 2000 → 3000 wet. The defining sequence in auto-body work. After the clear coat fully cures (usually 24–48 hours, longer for some products), wet sanding removes orange peel, runs, and surface dust nibs. 1500 cuts; 2000 refines; 3000 prepares for compound. Plenty of water, a firm flat block, light overlapping passes. Stop the moment the surface goes uniformly matte at each grit — extra passes are removing clear coat you can't get back.
For the 3000 stage, 3M Trizact discs on a DA at low speed produce a more consistent scratch pattern than hand sanding and cut polishing time roughly in half. See all 3000-grit picks.
Final polish
Compound, then polish. After 3000, switch to compound on a wool or microfiber pad to remove the sanding haze, then to polish on a foam pad for the final gloss. The sanding work decides what the polish can do — a panel sanded only to 1500 will never compound out to mirror; a panel finished to 3000 will, with the right product.
Wet vs. dry
Dry sanding dominates the first half of the ladder — filler, primer leveling, and most stripping work. It's faster, the dust shows the cut, and the paper doesn't fall apart. Dust extraction on the DA is non-negotiable on primer; without it, the loaded paper burnishes rather than cuts.
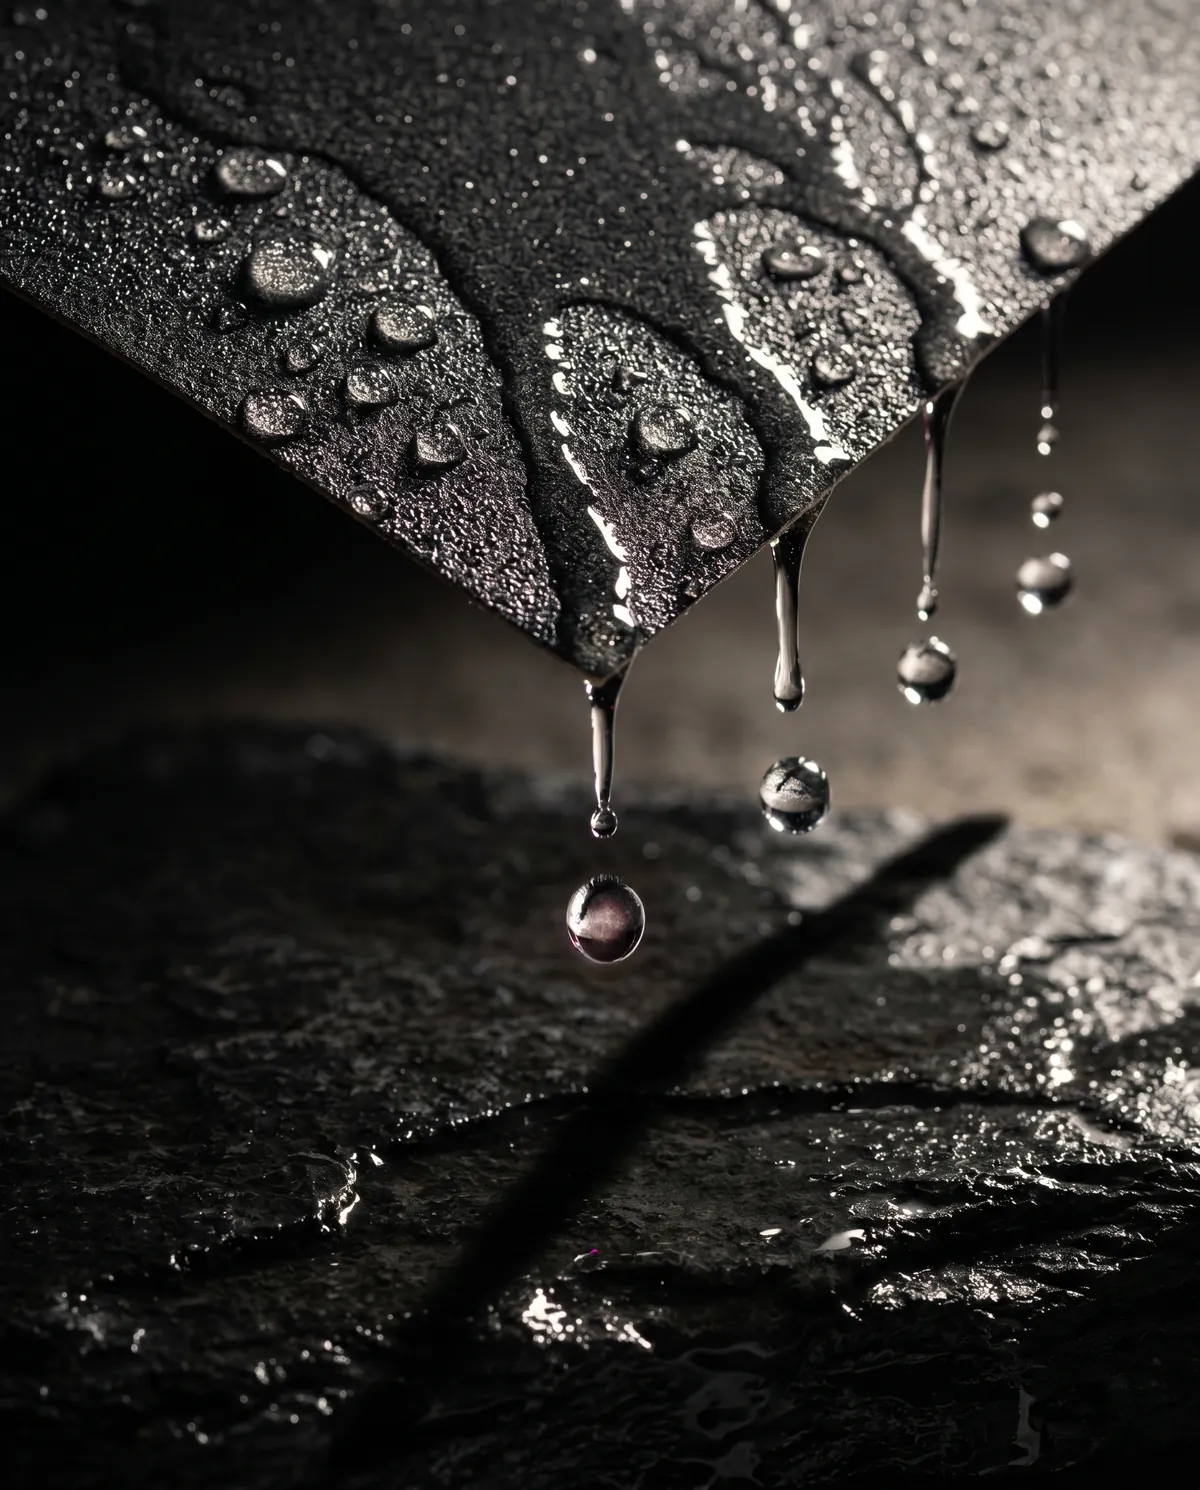
Wet sanding takes over from 400 up. Water flushes the cut paper, prevents the heat that softens fresh clear coat, and produces a finer scratch pattern at every grit. A drop of dish soap in the bucket keeps the slurry mobile. Squeegee the panel between every pass — the panel needs to be visibly clean before you decide it's ready for the next grit.
DA vs. hand sanding
The DA wins from 80 to about 400. Filler shaping, primer leveling, and pre-base scuff are all faster and more consistent on a random orbital. The DA's circular motion prevents the linear scratches that a sanding block can leave on softer materials.
The block wins from 400 up. Once you're working clear coat or polish-prep, a long flat block in straight passes produces the level surface that light reflects evenly off of. Trizact at 3000 on the DA is the exception — it's specifically engineered to leave a polish-ready pattern. See all DA discs and blocks and sponges.
Common mistakes
- Skipping 2000 between 1500 and 3000. 3000 cuts too slowly to remove 1500-grit scratches in a sane amount of time, and the leftover scratch pattern surfaces under the polish as a faint haze. The middle rung exists for a reason.
- Sanding into primer with 600-grit. If you burn through clear and color down to primer while wet sanding, 600 won't blend the spot back in — it leaves a halo that the next coat reads as a different surface. Stop, respray, restart.
- Block-less hand sanding on flat panels. A hand following the panel's existing contour locks in the existing contour. The whole point of leveling is to introduce a flat reference. A long block is the reference.
- Wet sanding fresh clear coat. Clear coat needs to fully cure before wet sanding. Sanded too early and it gums up the paper, leaves swirl marks that won't polish out, and can lift sections of the coat. Check the product data sheet — most call for 24–48 hours at room temperature.
- Reusing the same paper across grits. Carrying grit from a coarser sheet onto a finer-grit panel rebuilds the scratch pattern you just removed. Fresh paper, clean panel, clean water at every step.