3D Printing & Plastics
How to sand 3D prints.
The climb that actually works.
Sanding a 3D print smooth is a seven-step process: two dry grits to knock down the layer lines, one coat of high-build filler primer to fill what sandpaper can't reach, then four wet-sand passes that take the surface from matte to paint-ready. Most failed finishes skip the primer. Most people who skip it try it once and never skip it again.
The sequence
Seven steps. In order.
Skip a step and the next one tells you. The sequence below assumes a standard FDM print with 0.2mm layer height. Adjust coarseness up for thick layers, down for resin.
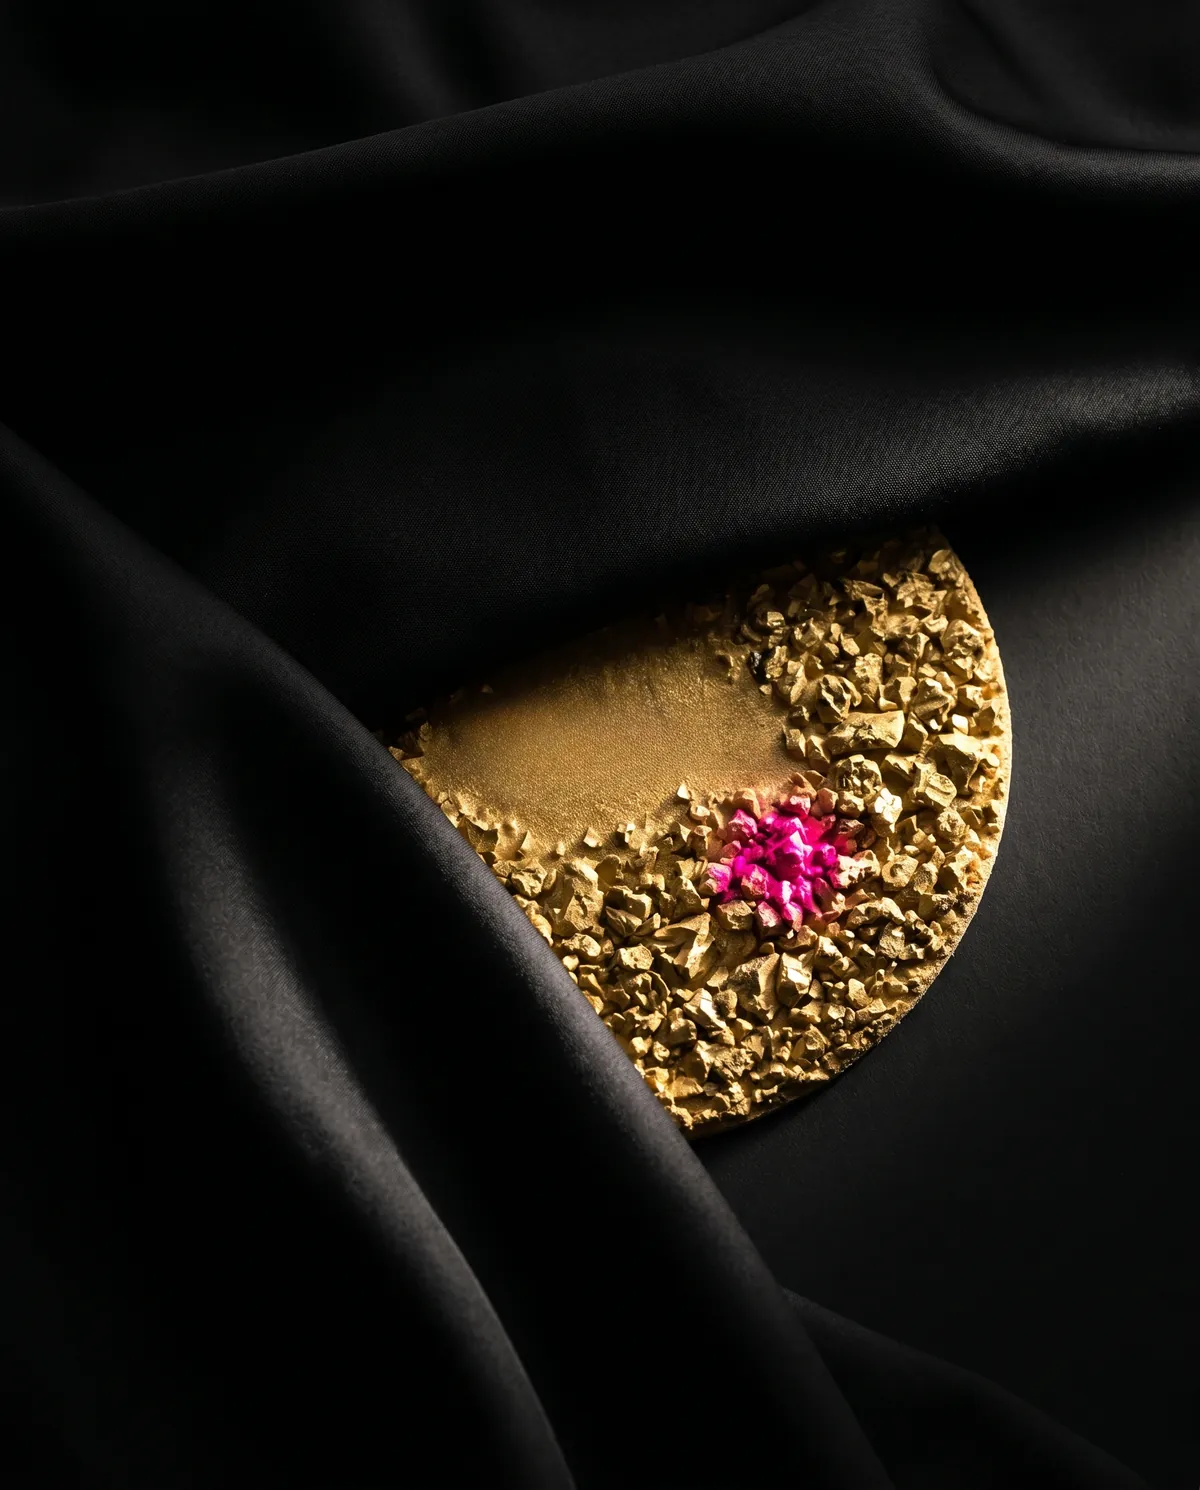
- 1 120
Knock down the layer lines
Sand by hand — no machine. Light circular pressure, one section at a time. The goal is leveling the ridges, not removing material. PLA melts around 60°C and friction gets there faster than you expect. Stop the moment the lines disappear.
Skip to 220 if your layer height was 0.1mm or finer, or if you're working resin.
Reach for
3M Pro Grade Precision Assorted Pack
Five grits. One box. Everything you need to finish what you started.
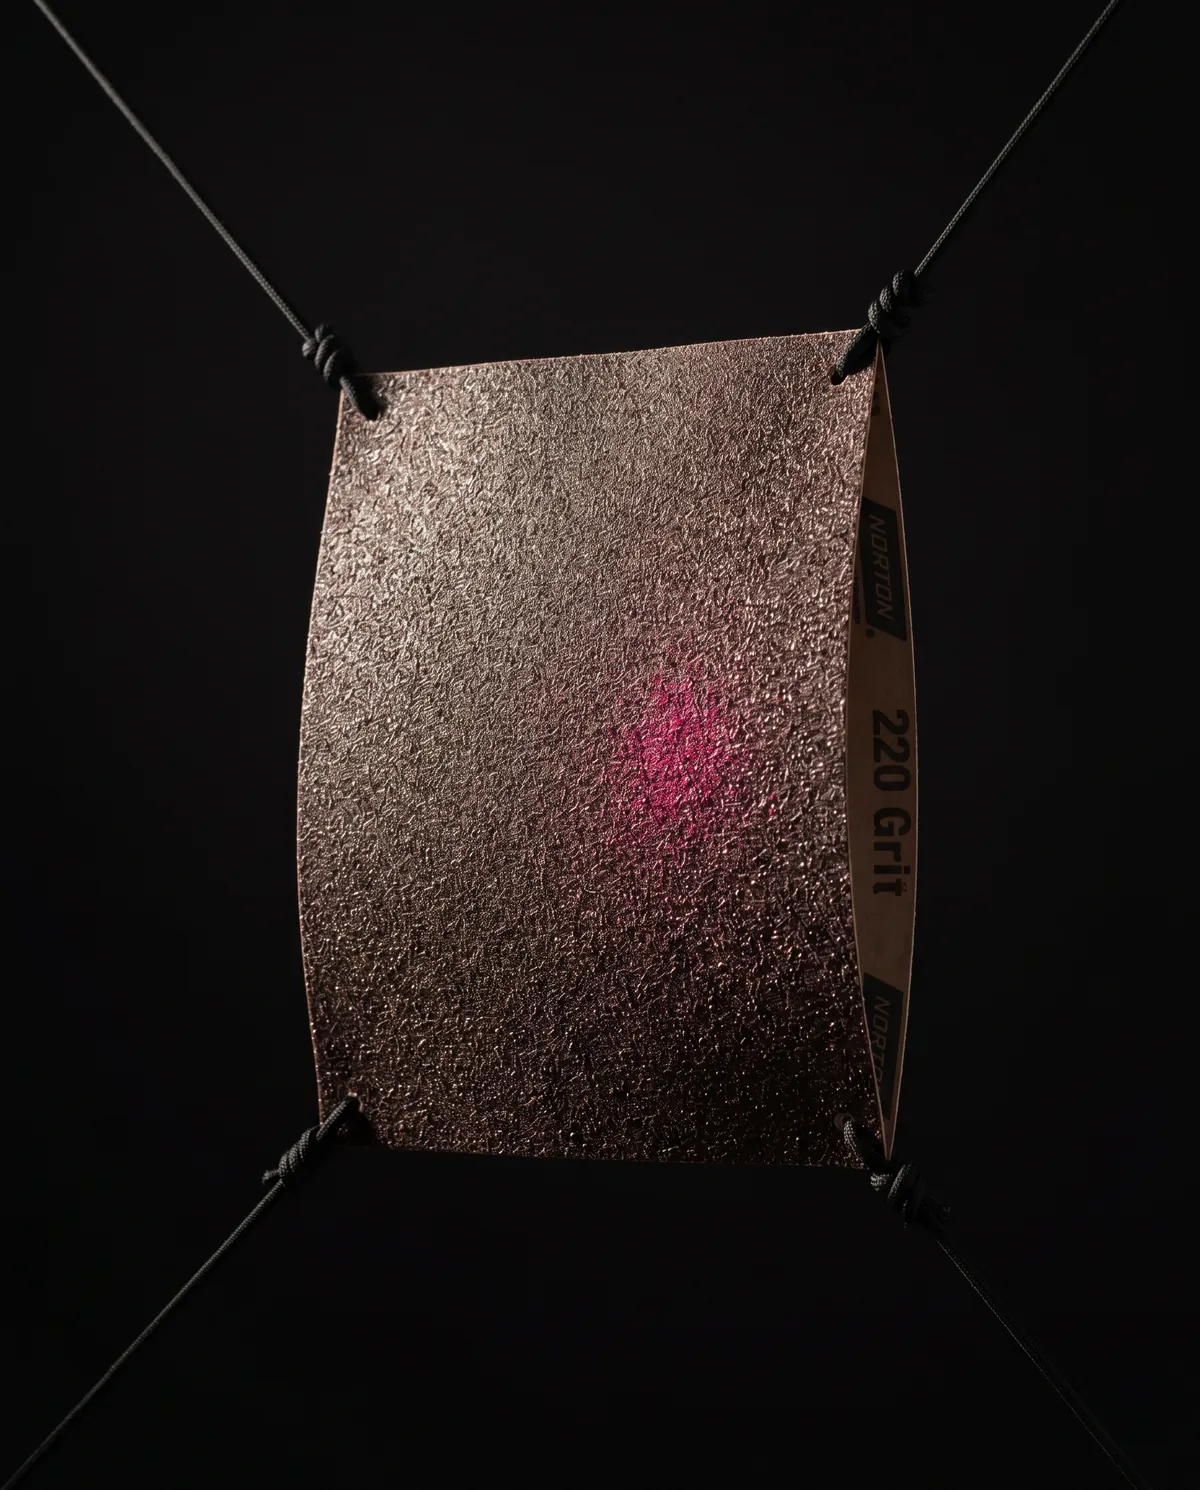
- 2 220
Refine the surface
Switch to 220-grit, still dry. Use an angled sanding sponge on curved surfaces, overhangs, and any detail the flat sheet can't follow. The surface should look uniform and matte — no shiny spots, no visible lines.
For the details
3M Angled Sanding Sponges
Soft on the outside. Firm when it counts. Rinses and comes back for more.
- 3 primer
Apply filler primer — the step that changes everything
High-build filler primer does something sandpaper physically cannot: it fills the micro-pits in the plastic surface — the 50–100 micron depressions between the sanding scratches and whatever layer structure remains. Two thin coats, 10 minutes apart, then 30 minutes cure.
Two options, depending on how much filling you need. The heavy filler primer for thick layer lines and deep micro-pits. The lighter sandable primer when the surface is already close and you just need one last leveling pass before color.
- 4 400
Level the primer
Wet sand with 400-grit. Soap and water as lubricant — a few drops of dish soap in a bowl of water. Light, even strokes. The primer sands off the high spots first. Stop when the sheen looks uniform.
Keep the surface flooded. Dry sanding at 400 melts the primer and loads the paper instantly.
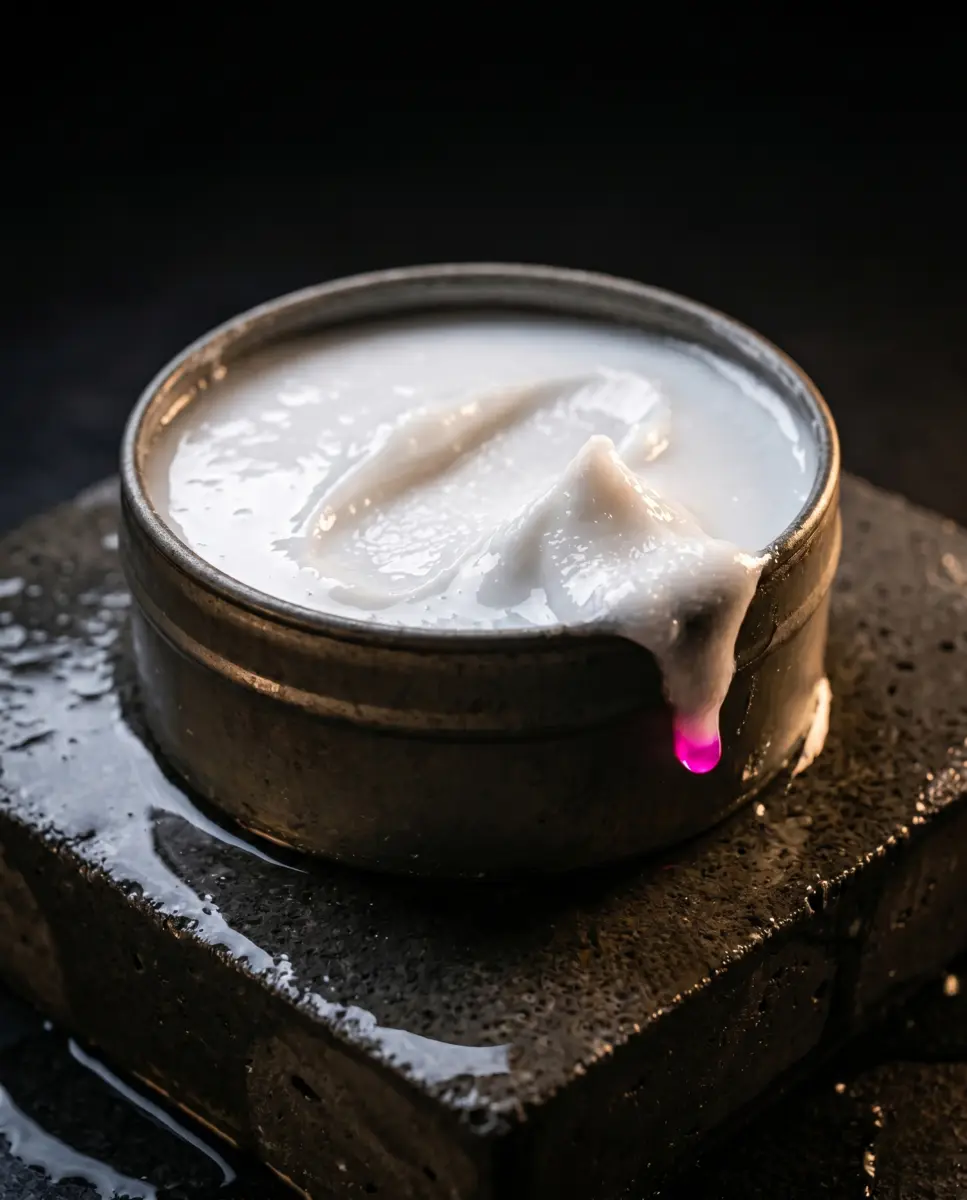
- 5 800
Remove the 400-grit scratches
Move to 800-grit wet. The milky white slurry is the primer and abrasive doing their job. The surface will look perfectly matte and slightly hazed — that is correct.
Covers steps 4–6
3M Wetordry 600–1500 Pack
The grits between the rough work and the reveal.
- 6 1500
Pre-polish refinement
Final wet pass at 1500. Any remaining imperfections at this stage will be visible under paint, so take your time. Surface should feel glassy to the touch.
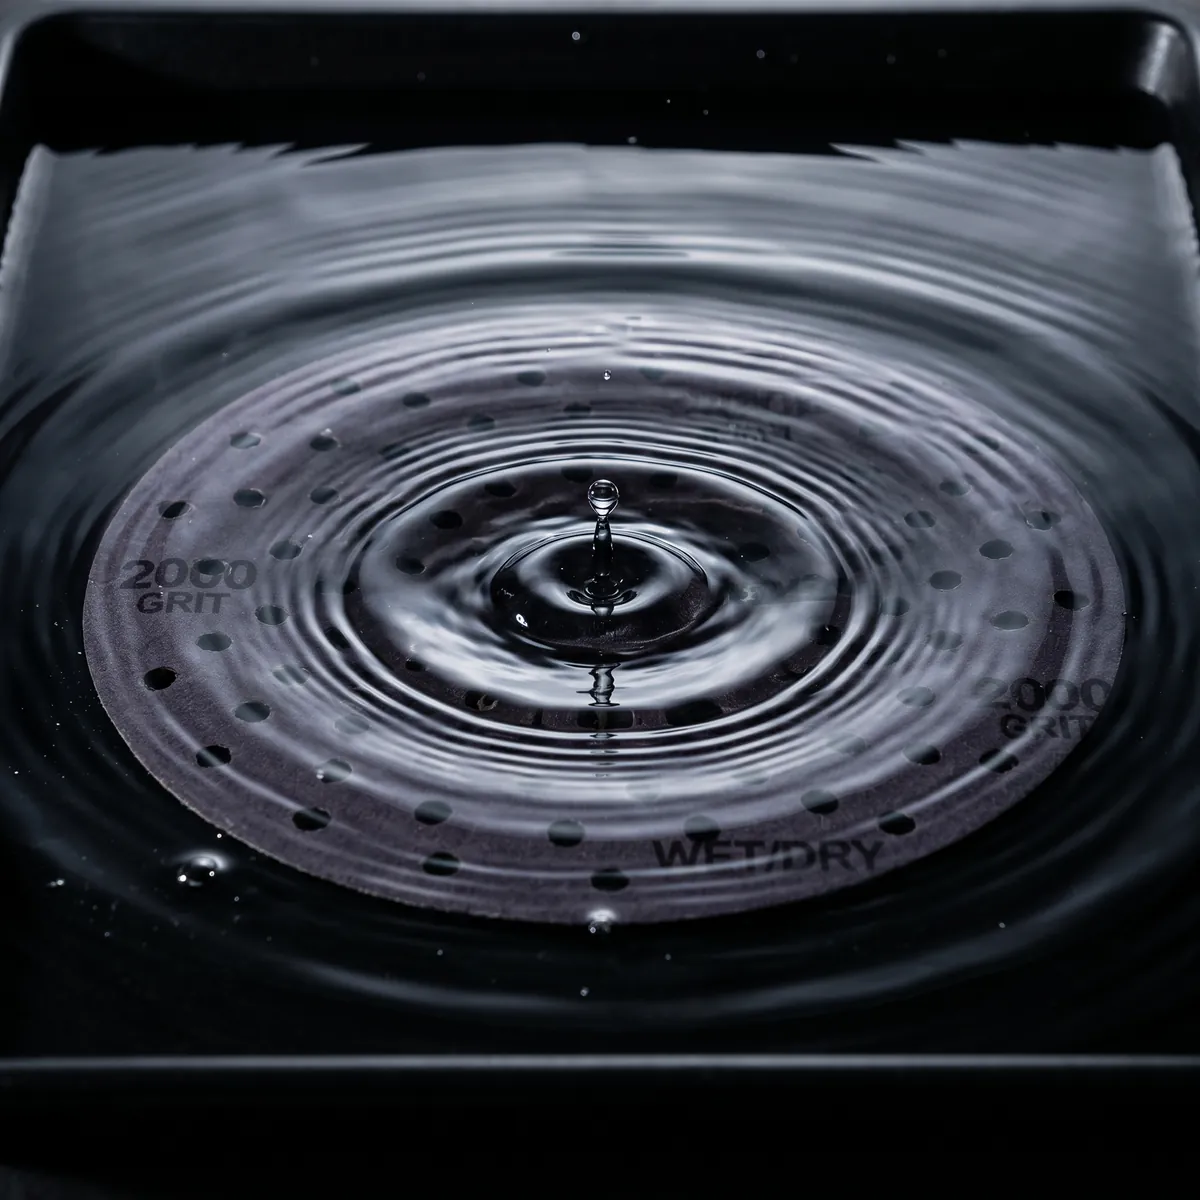
- 7 2000
Paint-ready finish
A light 2000-grit pass brings the surface to paint-ready. Wipe with a tack cloth and paint within the hour. For unpainted display pieces, follow with cutting compound and finishing polish.
For step 7
3M Wetordry — 2000 Grit
Goes on wet, works slow, leaves glass. The kind of finish people reach out and touch.
Material guide
PLA, PETG, ABS, and resin — each one is different.
The grit sequence is the same. What changes is how aggressively you can work, how hot the material can get before it deforms, and whether there's a chemical shortcut available.
| Material | Start grit | Heat tolerance | Notes |
|---|---|---|---|
| PLA | 120 | Low — melts ~60°C | Work slowly. No machines. Wet sand from 400 onward without exception. |
| PETG | 120 | Medium — ~80°C | More forgiving than PLA. Still wet sand from 400. Can be slightly more aggressive at 120. |
| ABS | 220 (after acetone) | High — ~100°C | Acetone smooth first, then 220 onward. ABS takes filler primer beautifully and paints easier than PLA. |
| Resin | 400 | High — chemically cured | Skip coarse stages. Always wet sand — resin dust is toxic. N95 minimum. Start directly at 400 wet. |
The technique most guides skip
Why filler primer changes the math.
A standard primer seals the surface. A high-build filler primer — the kind auto body shops use before painting — is formulated to fill surface imperfections before the top coat. Two thin coats will fill the scratches from 220-grit sanding and the micro-valleys in the plastic surface itself.
Without primer: you sand from 220 → 400 → 800 → 1500 → 2000, fighting the same micro-texture at every grit. With primer: the 400-grit wet pass is leveling a smooth primer coat, not chasing pits in bare plastic. Every subsequent grit goes faster.
Two primers worth knowing. The Rust-Oleum 249279 Filler Primer is the heavy-build option — the one to reach for when the layer lines are still visible after 220 and you need the primer to do serious leveling work. Apply in two thin coats rather than one heavy coat. Heavy coats sag, crack when sanded, and take forever to dry. The Rust-Oleum 260510 Sandable Primer is lighter — right for surfaces that are already close, or for the final primer pass between the filler coat and your top coat.
Heavy — more fill
Rust-Oleum Filler Primer (Heavy)
Two thin coats. Fills what sandpaper left behind. Sands back clean at 400.
Check price →Light — last pass
Rust-Oleum Sandable Primer (Light)
Lighter fill. Sandable in 20 minutes. For the surface that just needs a last pass.
Check price →Watch out for
The things that quietly ruin the finish.
- ·
Heat from friction melts PLA.
No power tools on bare PLA. A random orbital on a PLA print generates enough heat in seconds to deform the surface. Sand by hand at every dry stage.
- ·
Skipping the primer shortens the path but not the time.
Without primer you will still sand to 2000 — it just takes three times as long because you are working against a surface that cannot fill itself.
- ·
Dry sanding above 400 loads the paper instantly.
Silicon carbide wet/dry paper is designed to be used wet above 400. Dry, it clogs in seconds and stops cutting. Always lubricate.
- ·
Resin dust is toxic.
Always wet sand resin prints and wear at minimum an N95 respirator. The fine particles from dry-sanding uncured or fully-cured resin are a lung hazard.
- ·
Sanding across bridging and support marks too aggressively.
Bridging areas are thinner than they look. Sand lightly there and let the filler primer do more of the leveling work.
What we'd reach for
The full kit, in order of use.
Steps 1–2 (dry)
3M Pro Grade Precision Assorted Pack
Covers 80 through 320 — the full dry sequence in one pack.
Details & contours
3M Angled Sanding Sponges
The only tool that follows curves. Six-pack, reusable.
Steps 4–6 (wet)
3M Wetordry 600–1500 Pack
600, 800, 1000, 1500 — the wet sequence after primer.
Step 7 (final wet)
3M Wetordry — 2000 Grit
The last grit before paint or compound.
Display finish
Meguiar's Ultimate Compound
After 2000-grit, this brings bare prints to a gloss.
Step 3 — heavy fill
Rust-Oleum Filler Primer (Heavy)
For thick layer lines and deep micro-pits.
Step 3 — light pass
Rust-Oleum Sandable Primer (Light)
For surfaces that are already close.
Questions people ask
The practical part.
What grit sandpaper should I start with on 3D prints?
Start at 120-grit for most PLA and PETG prints with visible layer lines. If the layer lines are very heavy (0.3mm+ layer height), you can open with 80-grit — but work slowly. Pressing too hard generates heat that melts the plastic instead of cutting it. Skip straight to 220 on resin prints, which come off the plate much smoother than FDM.
Does filler primer actually work on 3D prints?
Yes — it is the single highest-impact step in 3D print finishing. A high-build filler primer fills the micro-pits and remaining layer texture that sandpaper alone cannot reach. Two thin coats, sanded back at 400-grit wet, will get you to a surface you can legitimately paint. Without it, you are chasing a perfect finish that the plastic surface cannot give you.
Can you wet sand 3D prints?
Yes, and it is the right call from 400-grit onward. Water acts as a lubricant, prevents heat buildup (which melts PLA), and keeps the abrasive from loading with dust. Use a drop of dish soap in the water. Start wet sanding after the filler primer coat — not on bare plastic, where water can raise the surface. PETG is more heat-tolerant than PLA and benefits especially from wet sanding.
How do you sand ABS 3D prints?
ABS sands similarly to PLA but is more heat-tolerant, so you can move slightly faster. The real advantage of ABS is acetone smoothing: a light wipe with acetone on a cloth will chemically smooth the surface before you even pick up sandpaper. Start at 220 after acetone treatment, then proceed through the wet-sand sequence. ABS also takes filler primer beautifully.
What is the best sandpaper for 3D prints?
For the dry stages (120-220): aluminum oxide sheets like the 3M Pro Grade Assorted Pack. For wet sanding (400-2000): silicon carbide wet/dry sheets like the 3M Wetordry range. Silicon carbide cuts better than aluminum oxide in wet conditions and does not load as quickly. Angled sanding sponges are essential for reaching into overhangs, bridging, and any curved surface.
Can you sand resin 3D prints?
Yes — resin prints are actually easier to sand than FDM because they start smoother. Begin at 400-grit (skip the coarse stages entirely) and work wet from the start. Resin dust is toxic: wear an N95 minimum, sand wet, and do not dry-sand resin prints. Filler primer still helps before the final paint stages.
UltraRough earns a small commission on Amazon links. Your price is identical. Our recommendations aren't softened for anyone. Full disclosure →