Finishing guide
How to sand between coats
The purpose isn't removal. It's adhesion. That changes everything.
Sanding between coats can level dust nibs and brush marks. Some finishes also require a light scuff for adhesion, especially outside their recoat window. Others bond without sanding when recoated on schedule. Read the label for the finish in your hand before picking up the paper.
Why you sand between coats: adhesion and leveling
A new coat needs a clean, compatible surface. Where the finish instructions call for sanding, a light scuff provides mechanical key. Sheen alone does not tell you whether sanding is required: the product and its recoat window do.
There's a second reason: leveling. Drips, dust, or brushstrokes in the wet coat become solid defects once it hardens. Sanding them out between coats means the topcoat lands on a smooth surface and can flow over it. The result is a finish that looks intentional, not careless.
The key: you're not trying to remove the finish underneath. You're scuffing it. A light pass with the right grit, held with light pressure, is all it takes.
When sanding between coats is mandatory vs optional
Required: Sand when the product instructions say to, including when you have exceeded a stated recoat window. Level defects such as dust nibs or brush marks once the coat is firm enough to sand. Follow the product's repair guidance for runs or sags.
Optional: Some paints and finishes allow another coat within their recoat window without sanding. If the label allows it and the surface is clean and smooth, leave it alone. Sand only to correct defects or when the instructions require it.
If the label is unclear, check the manufacturer's product sheet. An unnecessary sanding pass can cut through a thin coat or leave scratches that show through the next one.
The grit table: what to use for each finish type
These are starting points for ordinary between-coat work, not universal specifications. Use the grit and method on your finish label. Test in a hidden area if you are unsure.
| Finish type | Base grit | If smooth & clean | If defects present |
|---|---|---|---|
| Latex paint (satin/gloss) | 220 | 220-320 | Follow repair instructions |
| Oil-based paint | 220 | 220-320 | Follow repair instructions |
| Polyurethane (oil-poly) | 220 | 220-320 | Follow repair instructions |
| Water-based poly | 220 | 220-320 | Follow repair instructions |
| Lacquer | 220-320 | 320-400 | Follow repair instructions |
| Shellac | 220 | 220-320 | Follow repair instructions |
| Auto clear coat | Follow coating system | Follow coating system | Follow repair instructions |
Stearated vs standard: paper type matters
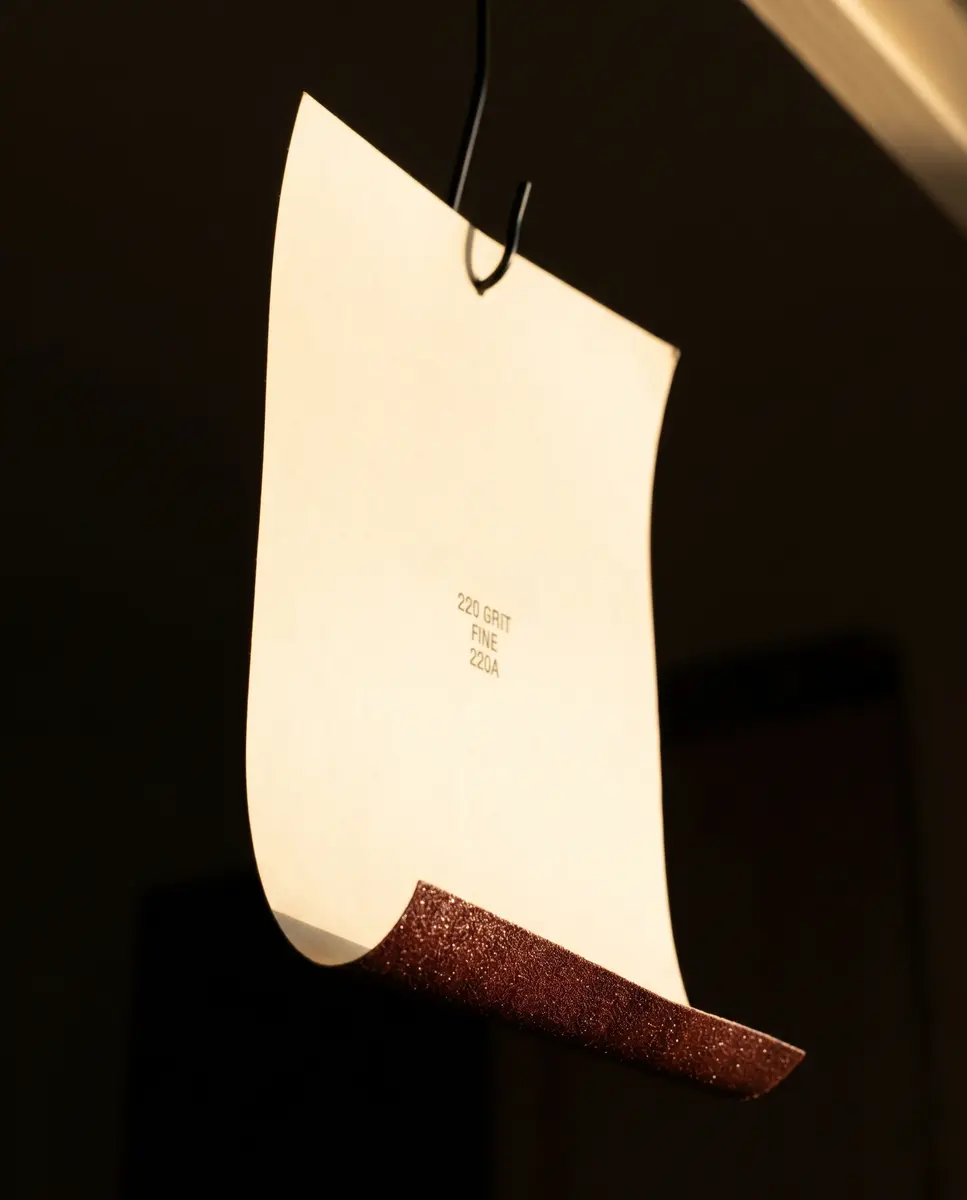
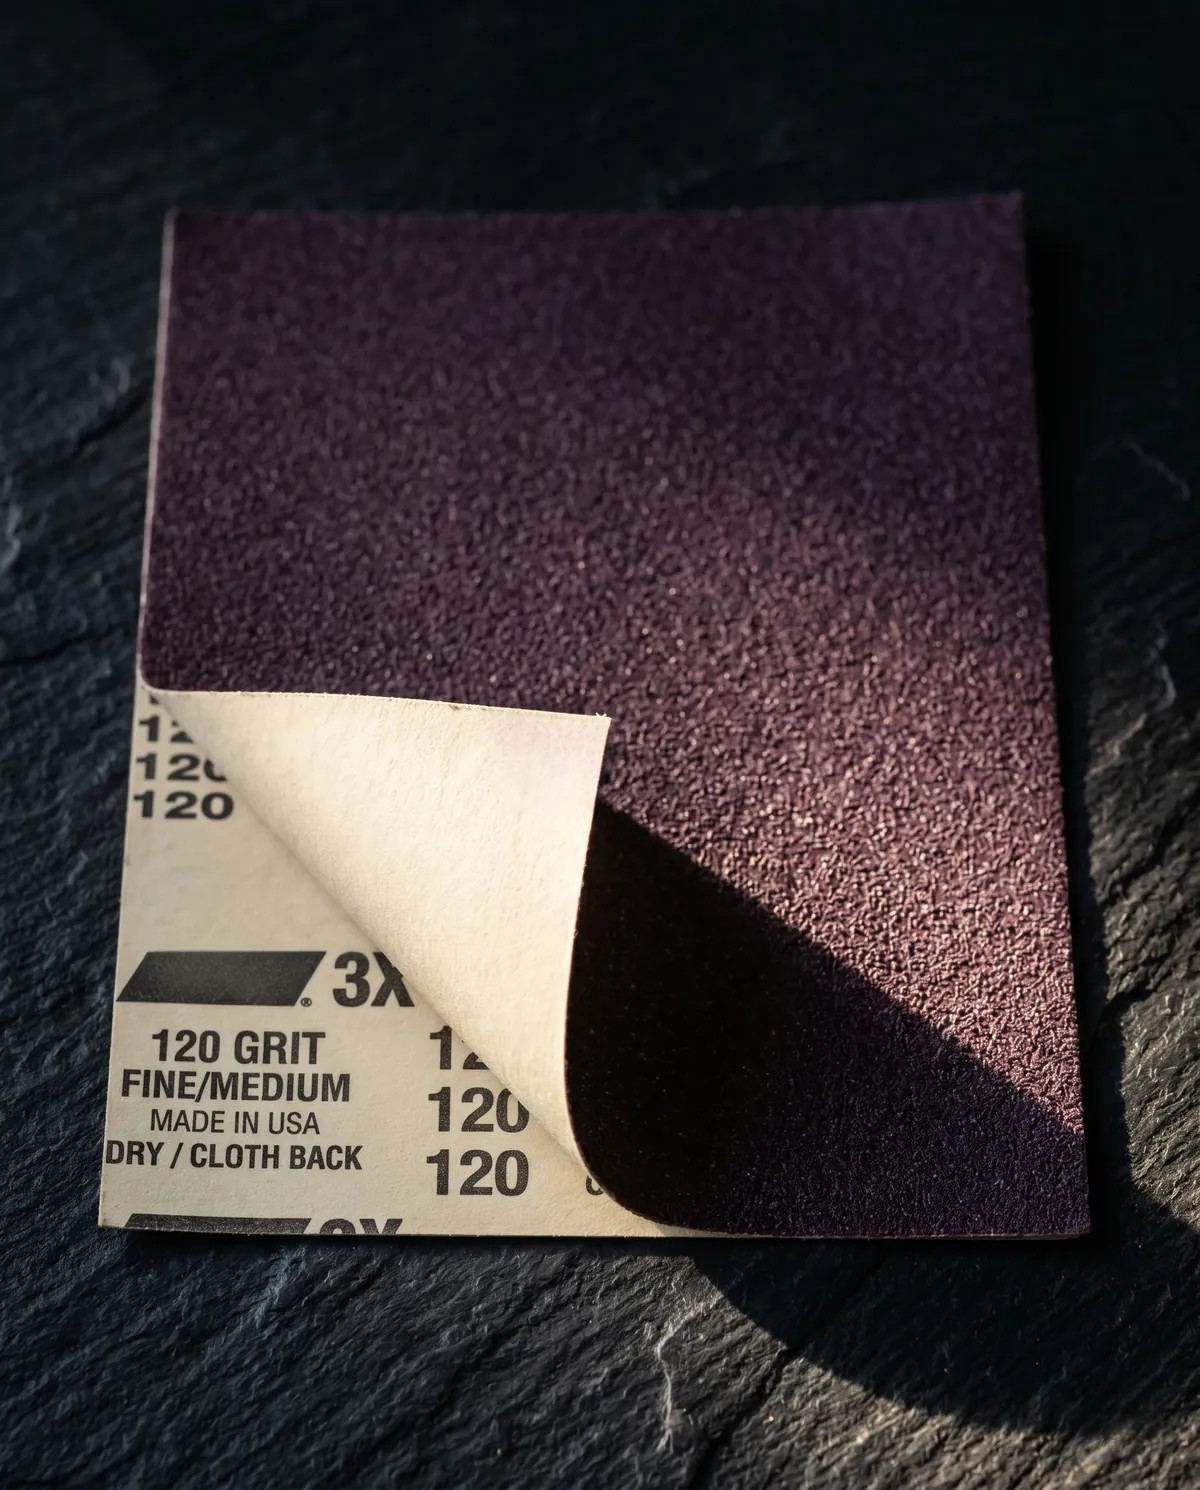
Not all 220-grit sandpaper behaves alike. Stearated paper has a coating that helps resist loading. It can be useful on dry finishes that clog ordinary paper, but check compatibility with the coating you plan to apply next.
Stearated papers can stay usable longer when a dry finish tends to clog the abrasive. Change the sheet as soon as it stops cutting cleanly.
Standard papers can work well for a light scuff. A clean, fresh sheet matters more than the coating on the abrasive.
Look for "non-loading" or "stearated" on the package if that is what your finish calls for. Follow the coating maker's instructions when they specify an abrasive type.
Dry time: the rule most people violate
A coat must be dry enough to sand cleanly, but it usually does not need to reach full cure before another coat. "Dry to touch," "sandable," "recoat," and "full cure" can mean different things. Use the product's sanding and recoat times, and stop if the abrasive gums up.
Temperature, humidity, and coat thickness can change drying time. Waiting longer can also put a finish beyond its no-sand recoat window. Check both limits before continuing.
If the label gives no sanding time, test a small hidden spot after the coat has dried. The abrasive should make fine dust rather than roll the finish into sticky crumbs.
Dry sanding vs wet sanding between coats
Dry sanding is the standard: 220 to 320 grit, no water, controlled pressure. Works for latex paint, oil paint, poly, lacquer, shellac, and varnish. Fast. Leaves dust. Requires cleanup.
Wet sanding belongs to coating systems that allow it. Automotive clear coat procedures vary by stage: refining a cured clear coat before polishing commonly uses much finer abrasives than 400 grit. A 3M paint finishing process starts at P1500 or P2000 for defect removal, then refines the scratches further. Follow the coating maker's procedure before sanding between fresh clear coats.
The advantage of wet sanding is control. The surface stays cooler, the grit cuts more evenly, and you can see exactly how much material you're removing. The disadvantage is time: wet sanding is slow, and the surface needs drying afterward.
Use dry sanding for furniture and interior finishes unless their instructions say otherwise. Use wet sanding only when the coating system specifies it and the surface is ready.
The technique: pressure, direction, and knowing when to stop
Pressure: Light. Your goal is scuffing, not cutting. Let the paper do the work. If you're pressing hard, you're going too deep.
Direction: For sheet sandpaper on wood, work with the grain using long, even strokes. On trim or edges, follow the contour and take your time. If you use a random orbital sander, keep it flat, use the abrasive and speed recommended for the finish, and check frequently for sanding through.
Coverage: You're looking for uniform scuff. Under angled light, the surface should look uniformly matte, not shiny in some spots and dull in others. When it does, you're done.
Knowing when to stop: The moment the surface is uniformly matte, stop. You're not trying to remove anything. The goal is texture, and texture appears fast.
Tools for between-coat sanding
Sanding sponges (220 grit): The best tool for trim, edges, and anything contoured. Sponges conform to profile, won't gouge, and you can feel the surface beneath them. Use dry on paint and poly. Wet or dry on lacquer and automotive work, depending on the product.
Sheet sandpaper with a sanding block (220 grit): For flat surfaces, fast and economical. The block is the reference, not your hand. If you let your hand flex, the paper rounds over edges instead of sanding flat.
5-inch random orbital sander (220 grit): For large panels, faster than hand work. Keep the base flat on the surface, don't tilt, and work at low speed. Check progress frequently. Orbital sanders are forgiving at low speed and unforgiving if you over-sand.
Common mistakes
- Sanding too coarse. 100 grit between coats leaves visible scratches that the topcoat can't hide. 220 is the default for a reason.
- Using a loaded sheet. Any abrasive that stops cutting cleanly can mar the finish. Replace it before continuing.
- Pressing hard. You're scuffing, not scraping. Light pressure, uniform coverage, and move on. Aggressive sanding eats the finish instead of roughing the surface.
- Sanding before the coat is ready. Wet or tacky finish gums up paper and will not level cleanly. Follow the product's sanding time.
- Using an orbital sander without checking progress. A thin finish can disappear quickly, especially at edges. Use light pressure and inspect often.
- Skipping the cleanup. Dust left on the surface gets trapped under the next coat. Tack cloth, vacuum, compressed air, or a damp rag. Choose one and use it.
- Judging by sheen alone. A glossy finish may still be within its recoat window. Check the label before sanding.
Quick reference: the between-coat sequence
- Read the product's sanding instructions and recoat window.
- Wait until the coat is sandable if sanding is needed.
- Inspect under angled light and repair defects according to the product guidance.
- Lightly sand with the specified grit. Do not cut through the coat.
- Remove dust with the cleaning method recommended for that coating.
- Apply the next coat per the product instructions.
When to use 320 grit instead of 220
If the finish calls for a light scuff and the surface is already smooth, 320 grit may leave fewer visible scratches than 220. Follow the specified grit where the manufacturer gives one.
Use 220 when the coating instructions call for it, as Minwax does for several polyurethane finishes. A glossy surface by itself is not a reason to switch grits.
FAQ
Do I have to sand between every coat? Follow the finish label. Some products require sanding; others permit recoating within a stated window without it. Sanding can also remove defects once the coat is ready.
Can I use the same grit between every coat? Often, if the product specifies a grit such as 220. For major defects, follow the product's repair directions before recoating.
How much pressure should I use? Barely any. Imagine the sandpaper floating on the surface. You're creating texture, not removing material. If you're tired after sanding a section, you're pressing too hard.
What if I accidentally sand through the coat? Stop and follow the coating system's repair instructions. Exposed substrate may need spot priming or another base coat before the next finish coat.
Is wet sanding faster than dry sanding? No, it's slower. Wet sanding is about control and precision, not speed. Use it for clear coat and show finishes. Use dry sanding for everyday work.
Can I skip sanding between primer and topcoat? Check the primer and topcoat instructions. Primer is not always glossy, and many systems permit topcoating after the stated dry time without sanding. Sand a rough primer coat if the label allows it and a smooth finish is needed.
Want to understand the full grit ladder? See the complete guide:The complete sandpaper grit chart. For automotive and clear coat work, also seeWet vs. dry sandpaper: the full comparison.
Manufacturer guidance: Minwax on sanding between protective finish coats,Sherwin-Williams on paint finish preparation, and3M on automotive clear coat finishing. Your specific product label takes priority.