Drywall finishing guide
Sandpaper for drywall
Joint compound sanding from mud to primer. The grit sequence that finishes faster and loads slower.
Drywall sanding is not wood sanding. Joint compound is softer than wood, loads paper fast, and clogs sandpaper in ways wood never does. The abrasive you choose, the tool you choose, and how aggressive you are with pressure decide whether you finish in an afternoon or spend two days tearing through paper and dealing with dust clouds. The right approach means fewer passes, less paper waste, and a surface that actually takes primer without revealing every imperfection.
Why drywall sanding is different
Joint compound is mostly gypsum and talc. It's softer than wood and loads onto conventional sandpaper like a magnet. A sheet that starts cutting at 100% effectiveness is clogged and gliding by 20% through the job. The abrasive spends half its life packed with compound dust instead of actually cutting.
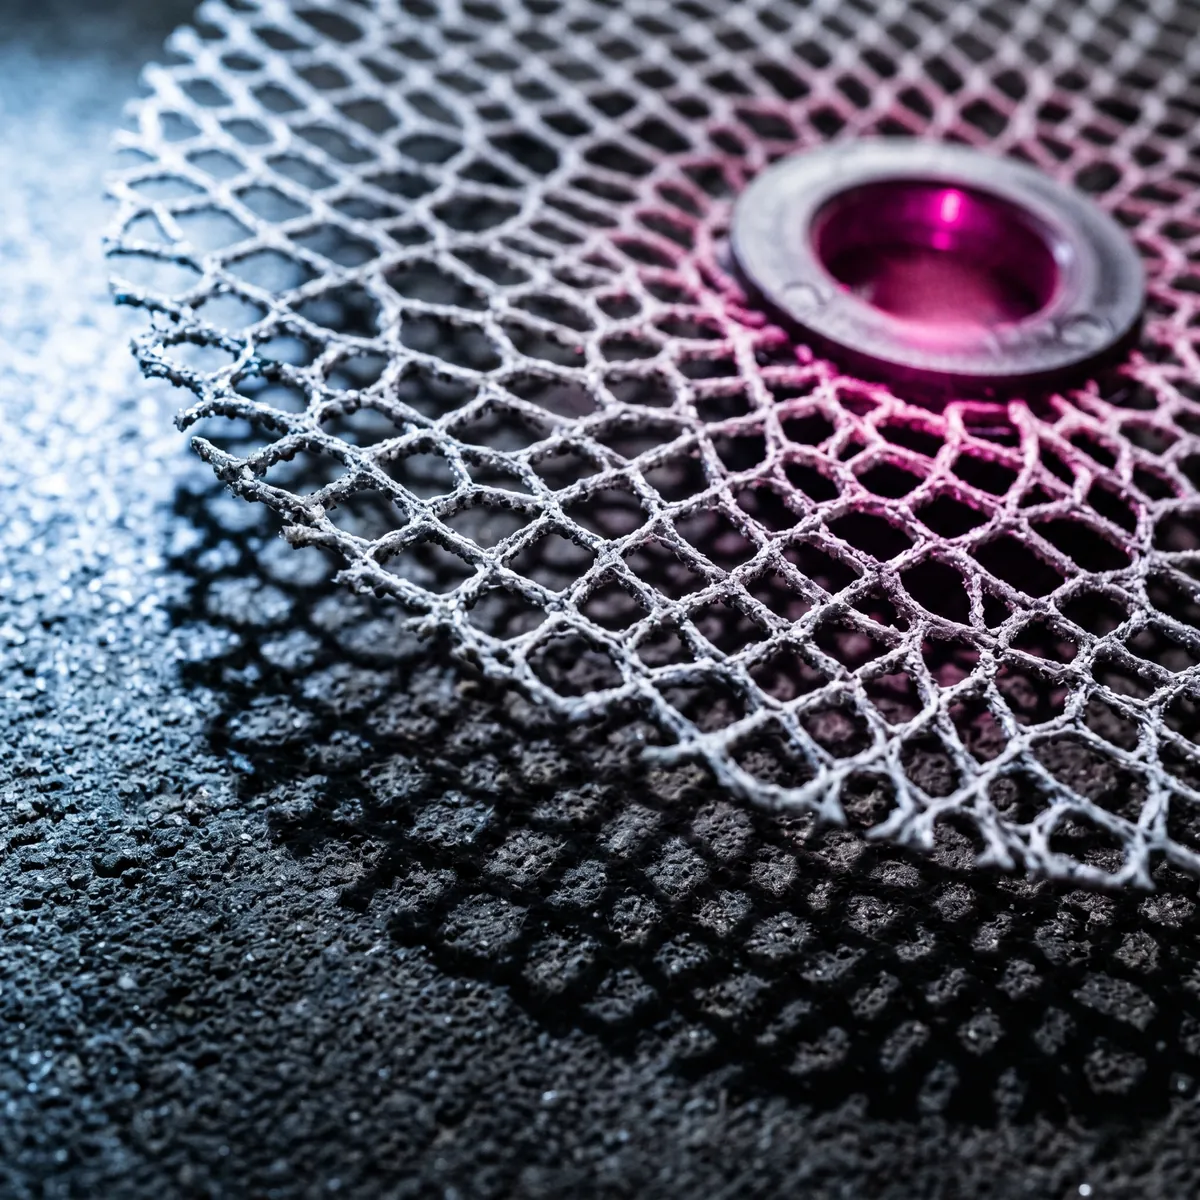
Drywall screens exist specifically to solve this. They're open-mesh instead of solid paper, so compound falls through instead of packing onto the surface. A drywall screen lasts twice as long as sheet sandpaper at the same task because it never loads.
Dust is the other problem. Drywall dust is heavier than wood dust, stays airborne longer, and coats everything — tools, lungs, walls you weren't planning to sand. Screens shed dust faster than sheet because air flows through them. Wet sanding on final coats kills dust entirely.
The grit sequence for drywall finishing
Drywall finishing follows a three-step progression: rough compound leveling, blending, and final prep for primer. Each step removes the scratches the previous one left, until the surface is uniform matte under angled light.
80 grit: high spots and thick mud
Use 80 if the mud is thick or uneven. High spots, ridges where tape is buried, areas the taping knife left textured. 80 removes the heavy stuff fast. Open-coat 80 (which most drywall papers are) cuts without loading as much as closed-coat.
Pole sander + 80-grit screen is the fastest way. Light pressure. Let the tool do the work. On ceilings, this is not optional — hand sanding 2,000 square feet of rough mud is a recipe for regret.
Skip 80 if the mud is already smooth from the taping knife. Going straight to 100 or 120 on light coats saves paper and time.
100–120 grit: mud flattening and blending
This is the workhorse grit. It removes the scratches from 80 (if you used it), flattens the compound, and blends seams into the field mud so you can't see the transitions under primer.
Pole sander with 120-grit screen is again the play for speed. On walls and flats, a sanding sponge works if you prefer hand control. On ceilings, a pole sander is non-negotiable unless you like shoulder damage and bad coverage.
This is where you catch most defects. Work light, check your progress under angled light every few minutes, and don't skip the next grit. 100–120 left alone scratches that primer will emphasize.
150–180 grit: finish coat and defect repair
Before primer goes on, step up to 150 or 180 to remove 120's scratches and smooth the entire surface. This is the final pass before primer, so it matters.
Sanding sponges are ideal here. They follow contours, flex into corners, and apply light pressure naturally. For large flat areas, a sheet with a sanding block works, but keep the pressure gentle. You're not removing anything, just smoothing what remains.
Under angled light, look for a uniformly matte surface. No shiny spots. No scratches. If you see it, prime. If you don't, one more pass at 180.
220 grit: final pre-primer finish and skim coats
After your skim coat or final pass of compound, 220 grit is the last sanding before primer. This is a light duty — you're not cutting, just burnishing the surface smooth. Sanding sponge, minimal pressure, dry or wet depending on how much dust you can tolerate.
If you're wet sanding the final coat (recommended), use 220-grit wet/dry paper or mesh. Wet sanding kills dust and leaves the surface sealed slightly, which helps primer flow better.
Drywall screen vs. sandpaper sheet
Use screens. They're the standard for joint compound and they work better at this specific task.
Why screens outperform sheet on drywall
- No loading: Sheet paper clogs with compound within 20–30 square feet. Screens stay open because dust falls through instead of packing onto the abrasive.
- Dust evacuation: Compound dust falls through the mesh instead of floating into the air. Better dust control without a vacuum attached.
- Longer tool life: A screen lasts twice as many square feet as sheet at the same grit because it never glazes over.
- Faster work: No stopping to change paper every 20 minutes. One screen covers what three sheets would.
When sheet paper still makes sense
Sheet works fine on small touch-ups, repairs, or hand sanding where you have good pressure control. For whole rooms or ceilings, the speed and life advantage of screens is decisive.
If you're hand sanding with a sanding sponge, that's technically a sheet format (foam backing instead of paper), and sponges are ideal for this task. Sponges conform, flex into corners, and apply gentle, even pressure naturally.
Tools: hand sanding vs. pole sander vs. orbital
Pole sander (the fastest choice)
A pole sander with hook-and-loop drywall screens is the industry standard. It reaches 12 feet without a ladder, applies light even pressure, and moves fast.
How to use: 80 and 120 grits do the heavy work. Keep the pad flat against the surface, use overlapping passes, and don't press hard. The tool's weight is enough. On ceilings, this eliminates shoulder strain compared to hand sanding.
Learning curve is minimal: if you've used a broom, you can use a pole sander.
Hand sanding with a sanding sponge (the precise choice)
Sanding sponges give you the most control. They conform to contours, flex into corners and inside angles, and let you feel the surface. Ideal for detail work, corners, seams, and anywhere precision matters.
On large flat surfaces or ceilings, sponges are slower than a pole sander and more tiring on the shoulders. For rooms where corners and details outnumber flat wall, sponges are the right choice.
A sanding block (plywood or foam) backing a sheet works too, but sponges are forgiving and don't gouge like a hard block can.
Random orbital sander (avoid until the final pass)
Orbital sanders are fast, but they're dangerous on drywall because they load quickly and can oversand before you realize it. You can cut through the paper face and into the gypsum core in one careless stroke.
If you use one, keep it at low speed (2,000–3,000 rpm), check progress constantly, and use it only on large flat areas where you can monitor the cut. High-speed orbital work on drywall usually means starting over.
Skip the orbital and use a pole sander with screens instead.
Dust control and respiratory health
Drywall dust includes talc and silica. Breathe it all day and you'll feel it for days. Dust control is not optional.
Dust control by tool
Pole sander: The screen mesh sheds dust downward into the room. Use a shop vacuum with a hose loosely held near the pad to catch most of it, or plan to sweep after. Dust masks are mandatory.
Hand sanding: Keep a vacuum nozzle near your work and vacuum as you go. Sanding sponges create less dust than sheet because they move slower.
Wet sanding: The best dust control. Water holds compound dust in suspension instead of letting it float. Final-pass wet sanding eliminates most airborne dust entirely.
Wet sanding the final pass
On skim coats and final 220-grit passes, wet sanding is worth the extra time. It kills dust at the source, leaves the surface sealed, and surfaces wet-sanded take primer better than dry-sanded ones.
Use 220-grit wet/dry paper or mesh, soak it for 5–10 minutes, flood the surface with water, and sand in light overlapping passes. Keep a bucket of clean water and a rinse bucket nearby. Every 2–3 minutes, rinse the paper in the rinse bucket and re-flood the surface.
Allow 2–3 hours of drying before priming. A fan aimed at the surface speeds it up.
Common drywall sanding mistakes
- Starting with sheet paper instead of screens. You'll change paper three times as often and spend half the day loading and reloading. Use screens from the start.
- Pressing too hard on the pole sander. The tool's weight is enough. Heavy pressure loads the pad faster and creates uneven scratches. Light touch, overlapping passes, let the screen do the work.
- Skipping 150–180 grit before primer. 120-grit scratches show through primer. A final pass with 150 or 180 cost 20 minutes and saves the entire paint job.
- Trying to hand-sand a whole ceiling. Shoulder fatigue leads to bad technique and incomplete coverage. A pole sander is $30 and takes the strain off entirely.
- Ignoring dust. Drywall dust coats everything and takes hours to clean. Dust masks, a shop vacuum, and ventilation are not optional.
- Sanding wet compound. Joint compound needs to harden fully before sanding. Wet compound gums up paper and won't sand level. Wait the full cure time (usually 24 hours per 1/8-inch coat).
- Using the same grit for rough and finish work. 120 is not 220. The two-step progression (medium for flattening, fine for finishing) is what separates good from mediocre.
FAQ: drywall sanding
What grit should I start with?
80 if the mud is thick or uneven. 100–120 if it's smooth from the taping knife. Skip straight to 120 or 150 for touch-ups and repairs. Never start finer than 120 on rough mud; you'll just spin wheels.
Can I use regular sandpaper on drywall?
Yes, but it's inefficient. Regular sheet paper clogs fast with compound and needs constant changing. Drywall screens solve this. For small repairs or sanding sponges on detail work, regular paper is fine. For rooms, use screens.
How do I sand drywall without dust?
Wet sand the final pass. Use a shop vacuum while sanding on coarse grits. Wet the pad or paper lightly as you work (not soaked, just damp). A HEPA-filter vacuum dedicated to drywall work makes the biggest difference.
Drywall screens vs. Abranet mesh for drywall?
Drywall screens (like Gator or Goldblatt) are made specifically for joint compound and load slower than anything else. Abranet is Finnish mesh abrasive, excellent for wood and metal, but designed for faster tools. For drywall, drywall screens are the standard choice. Abranet works fine but costs more.
How many passes at each grit?
One full pass at 80 or 120 (the rough grit), one pass at 100–120 for blending, one pass at 150–180 to remove 120's scratches, and one final pass at 220 before primer. Four passes total. If you're doing a ceiling, the pole sander makes this feasible in an afternoon. Hand sanding takes a day.
Do I sand every coat of compound?
Every visible coat. Between coats, light sanding helps the next coat bond and blend. Final skim coat gets the full progression (80 if needed, then 120, 150–180, and 220). Primer goes on the 220-grit finish.
The grit sequence, recap
| Grit | Use | Tool |
|---|---|---|
| 80 | High spots, thick mud, rough pass | Pole sander with screen |
| 100–120 | Mud flattening and blending seams | Pole sander (primary) or sanding sponge (detail) |
| 150–180 | Remove 120 scratches, final prep for primer | Sanding sponge or hand sanding with sheet |
| 220 | Skim coat and final pass before primer | Sanding sponge or wet sanding with wet/dry paper |
For the complete grit guide across all surfaces:The complete sandpaper grit chart. For wet sanding techniques and final finishing:How to wet sand.