Cornerstone guide
How to wet sand: the complete technique guide
A little water changes everything.
Wet sanding is the same motion as dry sanding with one variable swapped: the dust is now a slurry, and the slurry does most of the work. Done right, the same 2000-grit paper that leaves a chalky haze dry leaves a uniform satin under water — the kind of surface that compounds out to mirror in a single pass. Done wrong, you've burned through clear coat or loaded up a sheet of expensive paper in thirty seconds. This is the technique, by application.
New to grit numbers? The complete grit chart is the right starting point.
What wet sanding actually does
Dry sanding cuts by dragging mineral grains across a surface. The cut particles — swarf — pile up between the paper and the work, and at fine grits they pack into the spaces between the grains and stop cutting. The paper loads, and a loaded sheet burnishes instead of cutting. On a cured paint film, burnishing means heat, and heat means a softened, scarred surface that won't polish out.
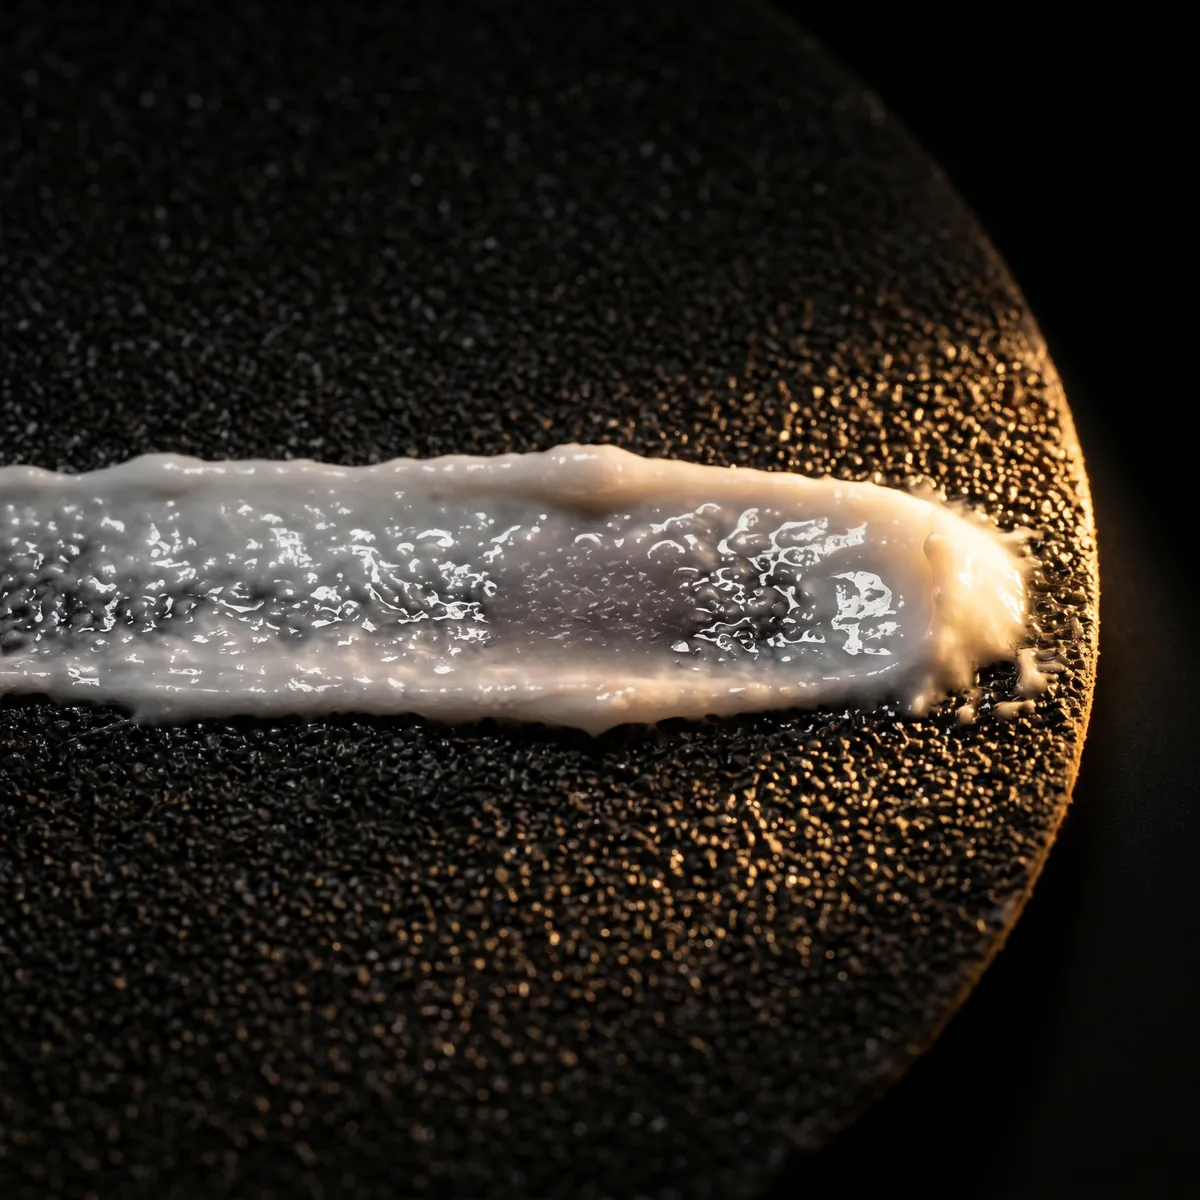
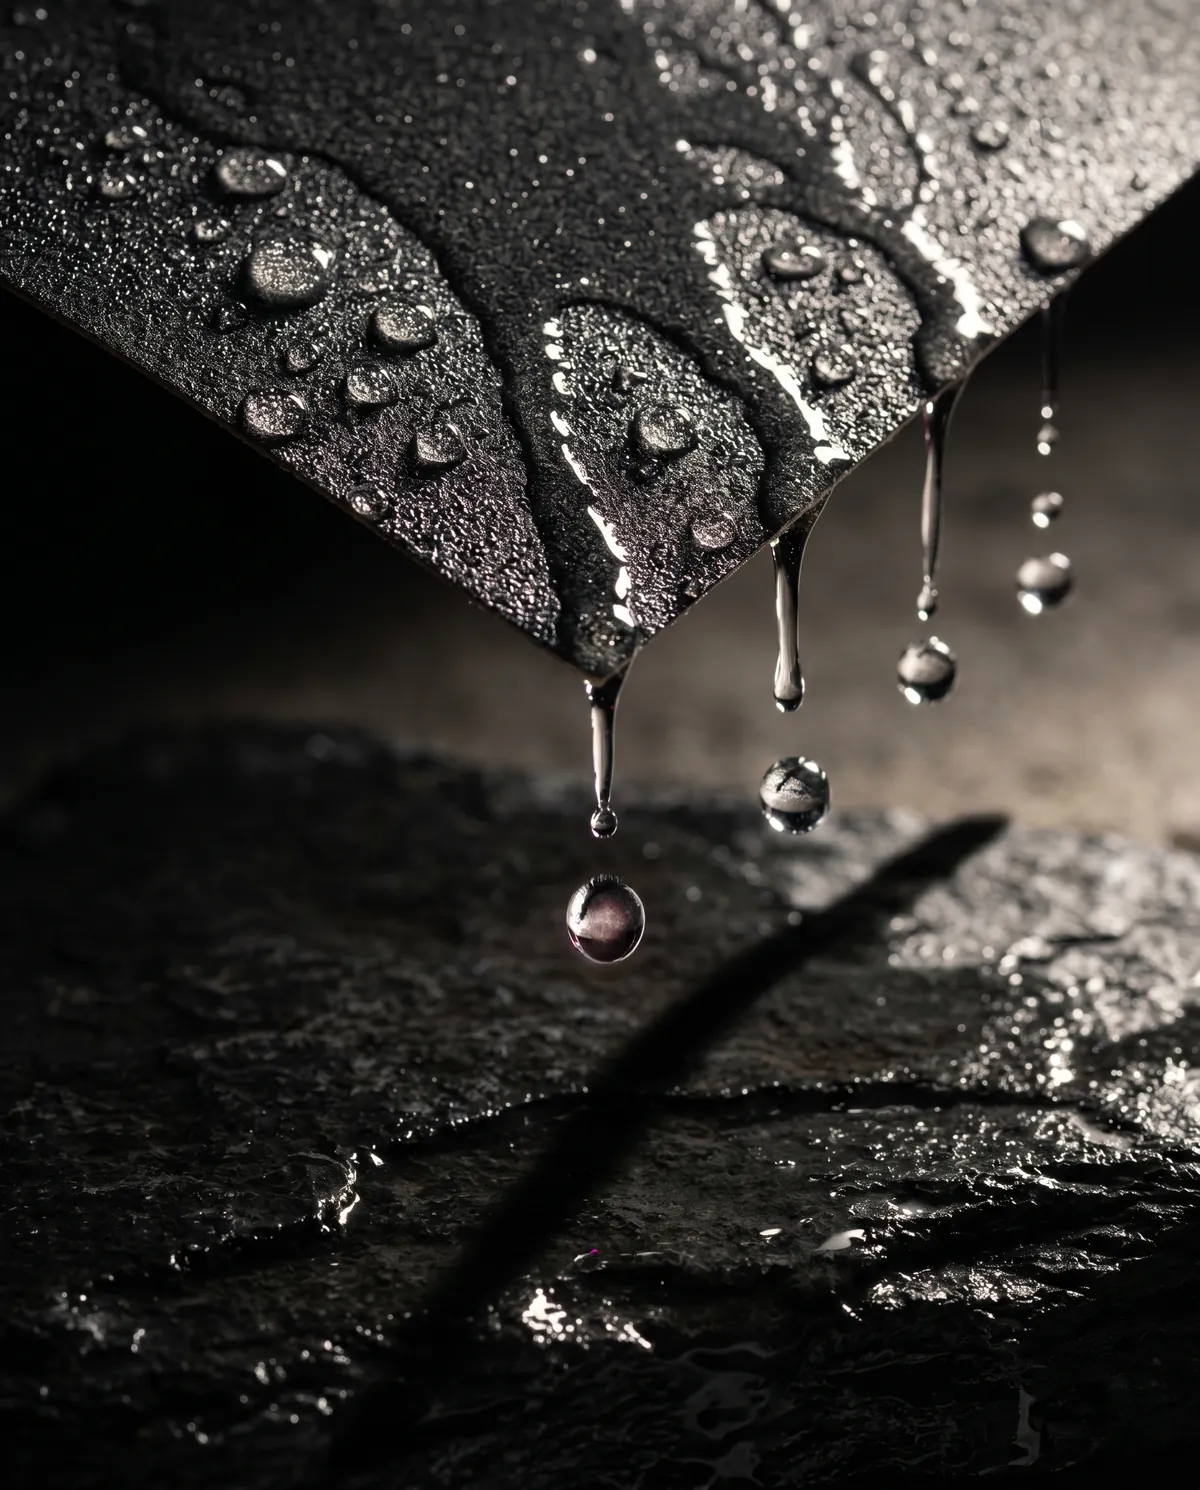
Add water and three things change. The liquid floats the swarf out of the cut, so the grains stay engaged with the surface. It carries heat away, so the substrate stays cool and dimensionally stable. And the thin film between paper and panel slightly suspends the cut, so the scratch pattern comes out finer than the grit number would suggest dry. A 2000-grit cut under water is closer to a 3000-grit cut dry.
Wet sanding vs. dry sanding
Both belong in the same job — the question is when to switch. As a rule, dry runs the bottom of the grit ladder and wet runs the top, with 400-grit as the usual handoff. Below that, dry is faster and the dust shows the cut. Above it, wet produces a finer finish and prevents the heat that compromises cured finishes.
| Application | Dry range | Wet range |
|---|---|---|
| Auto clear coat | — | 600 → 3000 |
| Auto base coat / primer | 80 → 320 | 400 → 800 |
| Lacquer and wood finish | 220 → 320 | 400 → 2000 |
| 3D prints (PLA, resin) | 120 → 220 | 400 → 2000 |
| Plastic trim, headlights | — | 600 → 3000 |
| Soft metal, jewelry | 220 → 400 | 600 → 2000 |
What you need
Waterproof paper
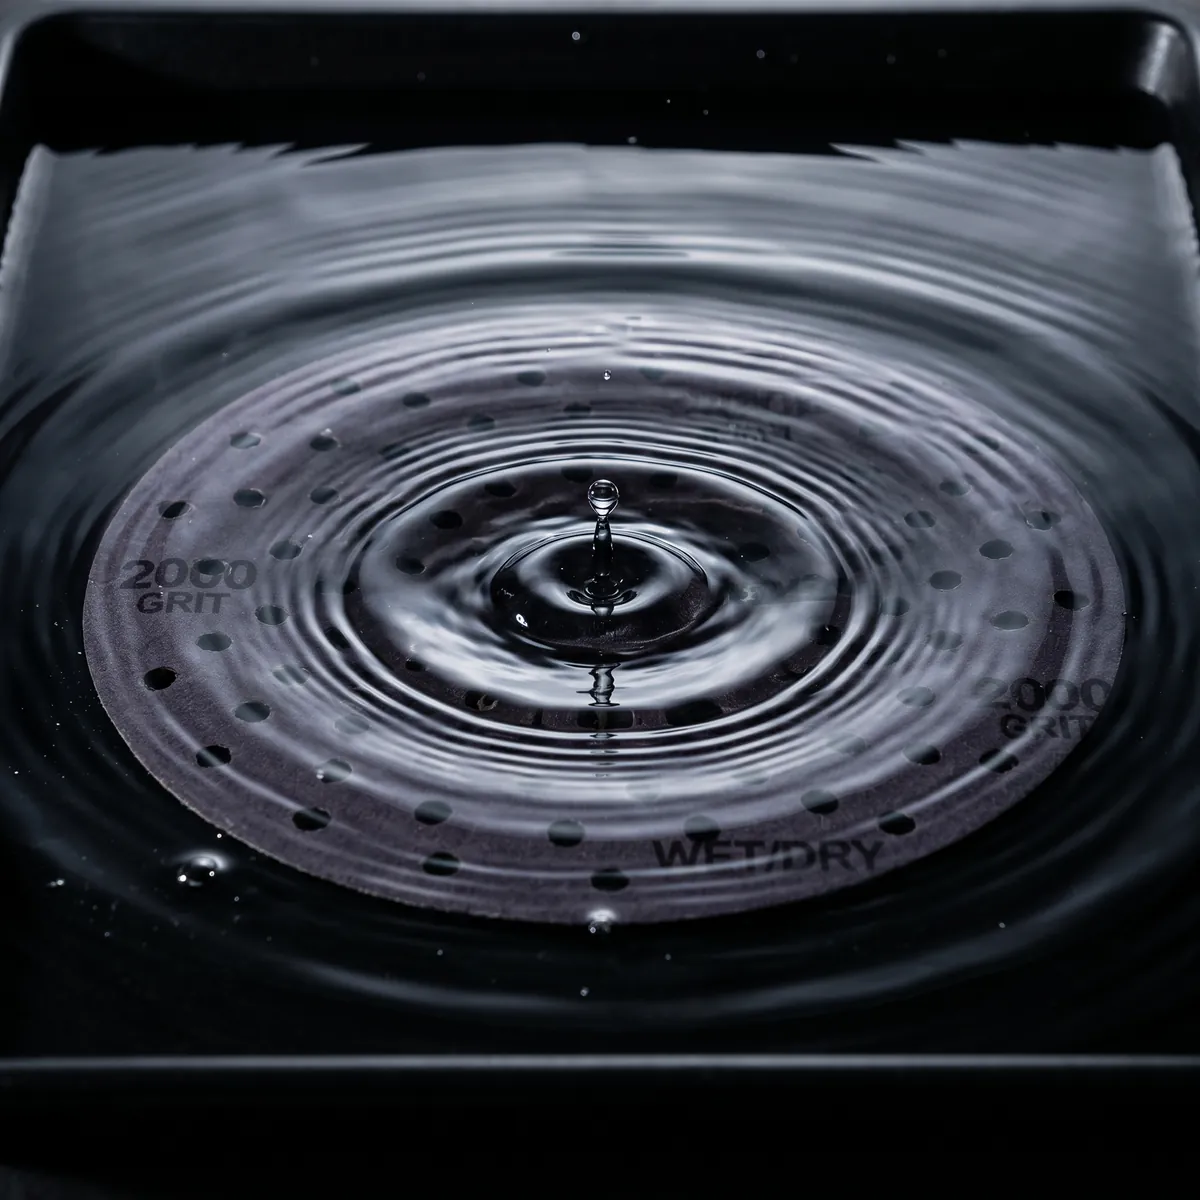
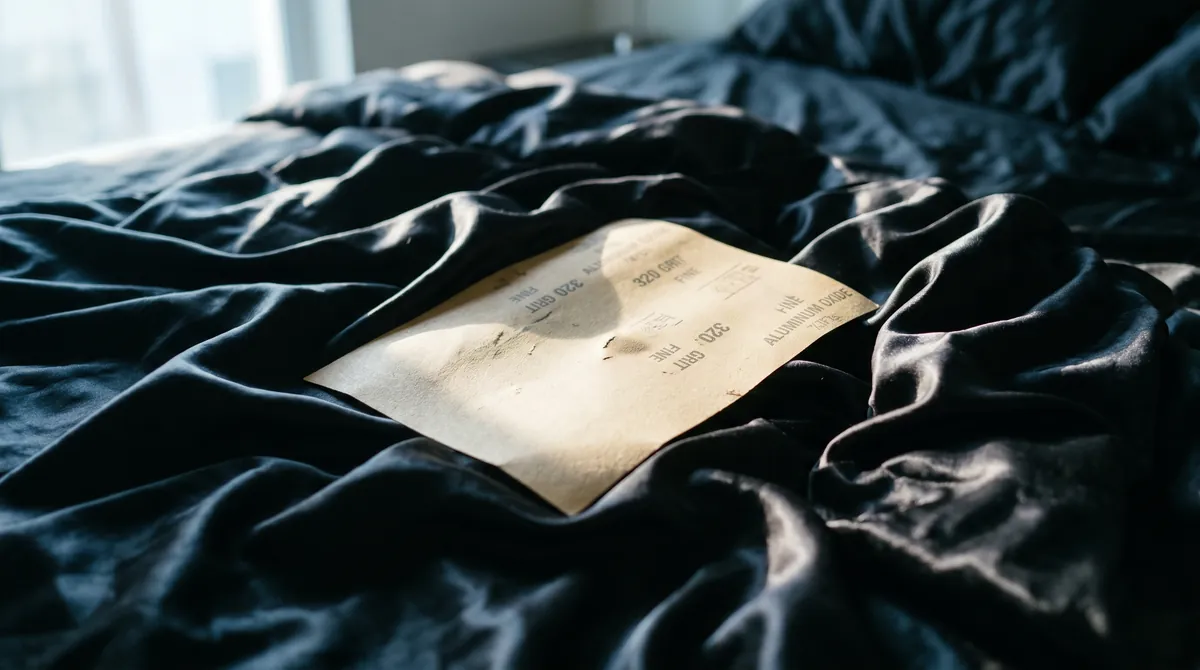
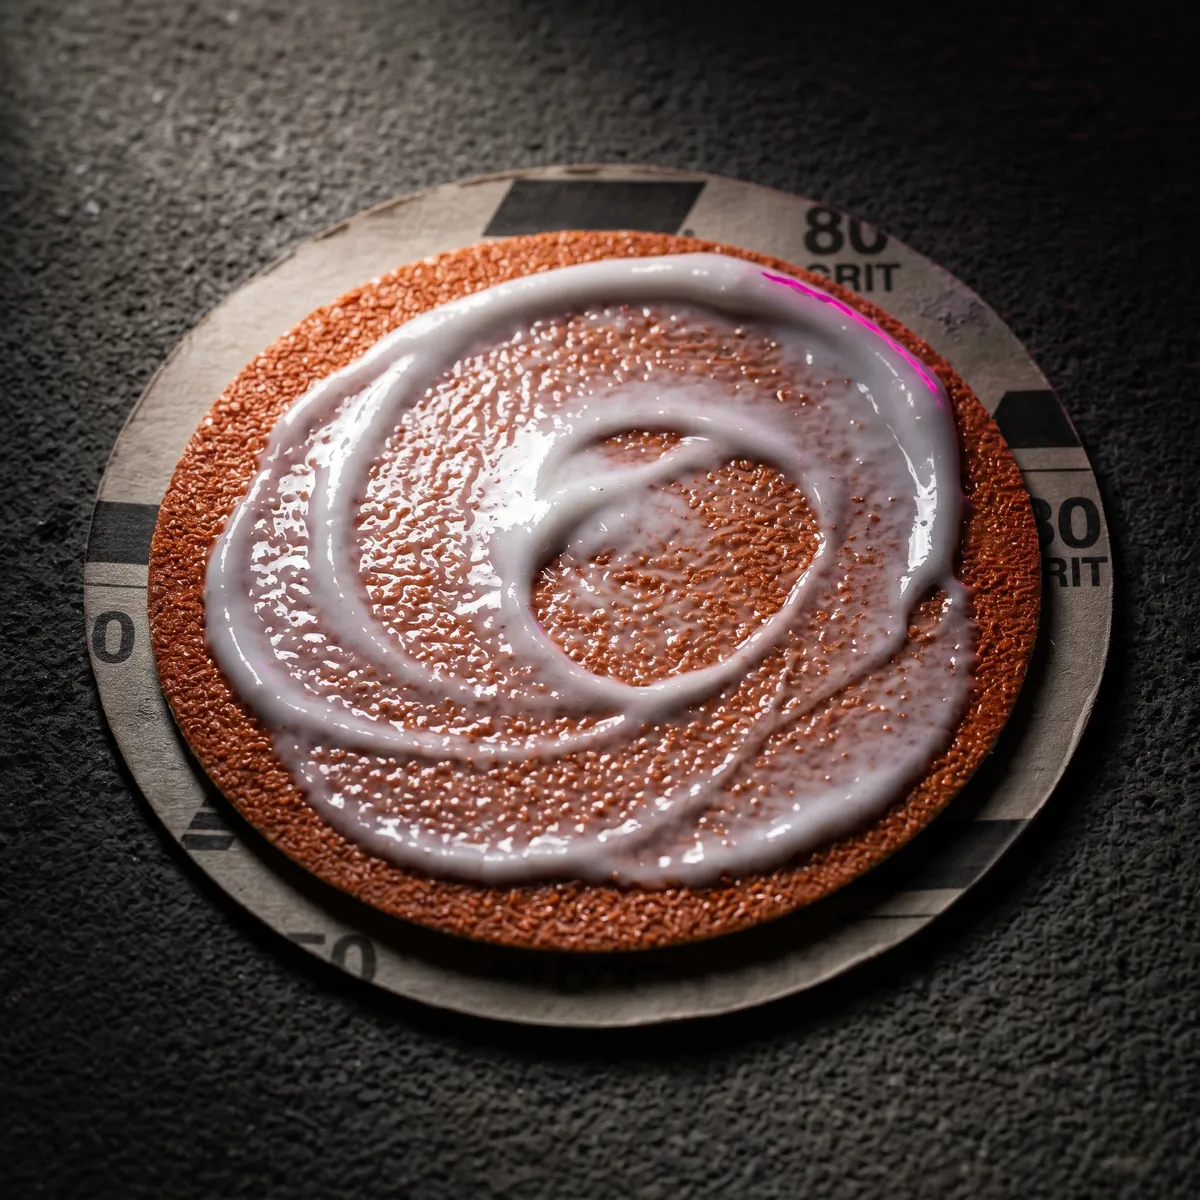
Standard aluminum-oxide paper on a paper backing will turn to pulp the moment it touches water. Wet sanding needs silicon carbide on a waterproof latex backing, sold as "wet/dry" paper. The 3M Wetordry line, Norton Black Ice, and Mirka Wpf all qualify. Silicon carbide is also the sharpest common abrasive grain, which is why it dominates the high-grit end of every range. See 2000-grit picks or the broader sheet selection.
A bucket and a lubricant
Clean water plus a single drop of dish soap is the default. The soap drops surface tension so the slurry stays mobile across the panel rather than beading off in fat drops that leave dry spots. A second bucket of plain rinse water keeps the working bucket from turning to silt.
For bare metal you can't afford to flash-rust between sand and finish, swap water for mineral spirits or WD-40. For resin 3D prints, plain water is fine — the resin doesn't care.
A block, a sponge, or a DA
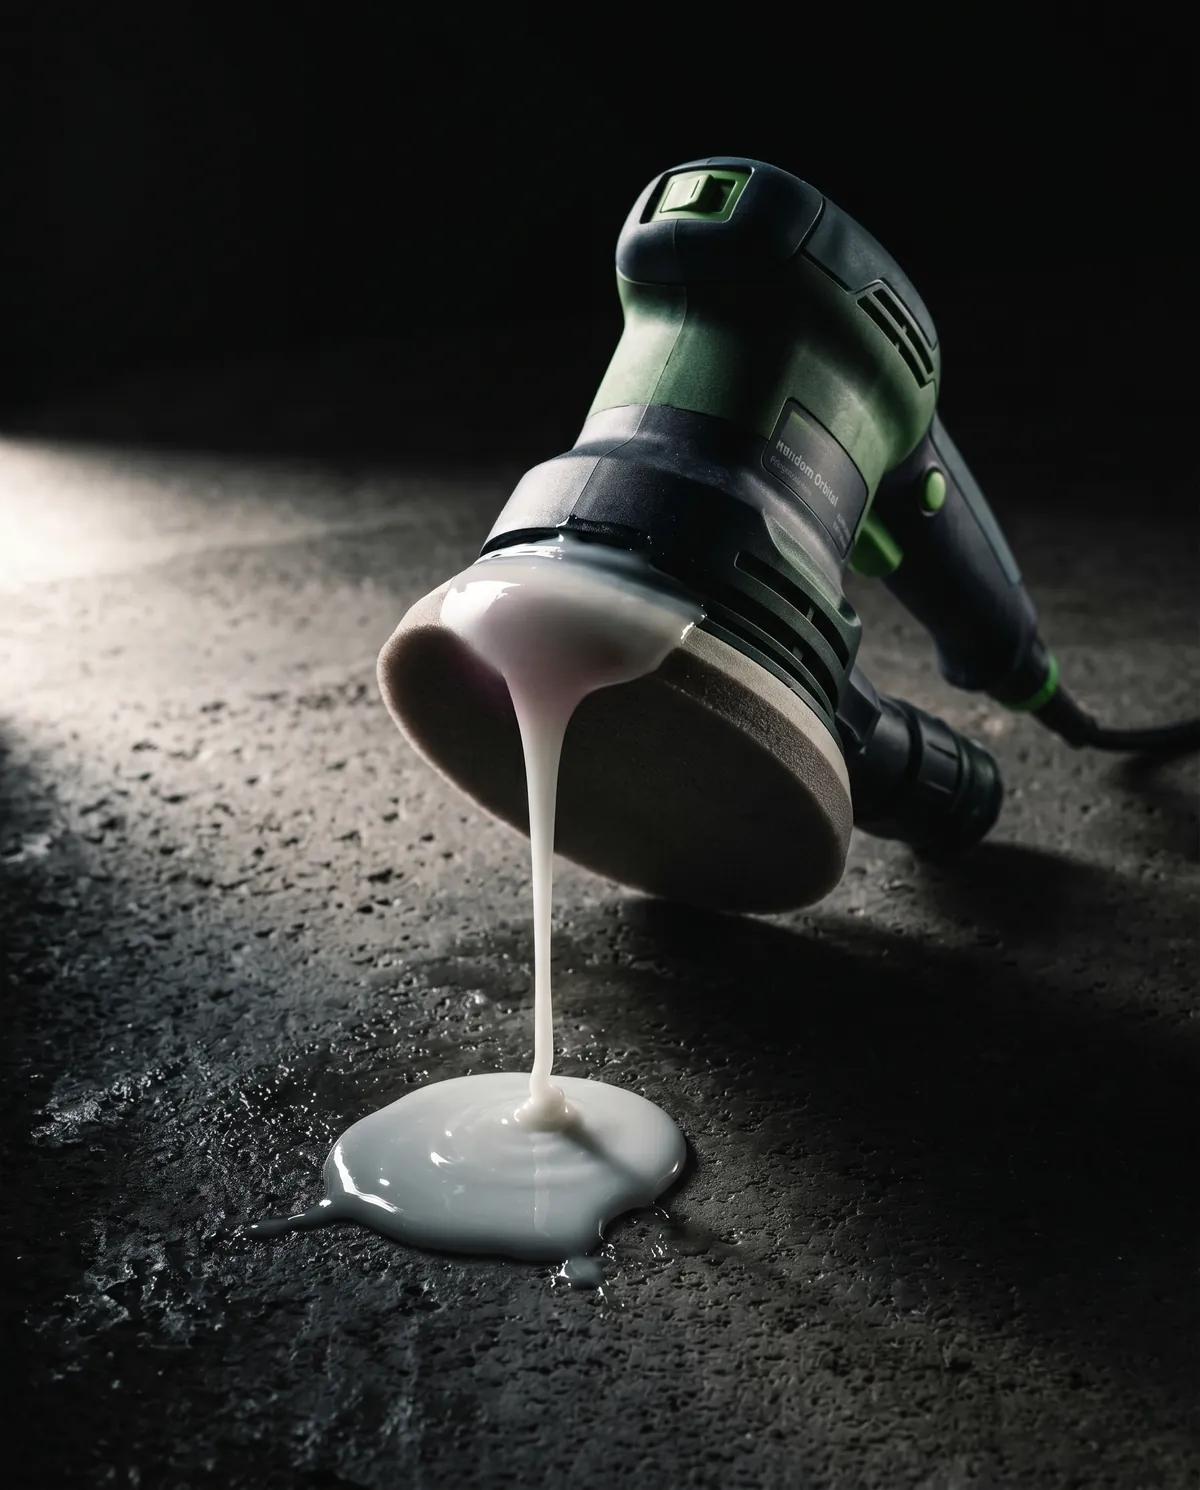
Hand-holding paper conforms to whatever lump is under your fingers and locks it in. A flat hard block (the Dura-Block AF44 is the auto-body standard) is the reference surface that makes leveling possible. A soft sponge block is right for contoured surfaces where a hard block would dig at the high spots. For 3000-grit pre-polish work, a DA with a Trizact disc at low speed beats hand sanding for consistency. See all sponge blocks.
A squeegee and tack cloth
A rubber squeegee is the only honest way to check the cut between passes — wipe the panel clean, look at the surface dry, decide whether to keep going at this grit or step up. A tack cloth at the end of every grit picks up the last of the slurry before the next stage.
Technique, step by step
- Soak the paper first. Cut a sheet to size and drop it in a bucket of soapy water for 10–15 minutes. The latex backing absorbs water and loses its tendency to curl; the paper itself stays softer and conforms better to the surface.
- Flood the panel. Pour or squirt water on the surface before the paper touches it. A dry spot under the paper is a dry cut, which is a scratch, which is half an hour of extra work to remove later.
- Use light, overlapping passes. The grit cuts, not the pressure. Heavy pressure on wet paper just deflects the cut and produces uneven scratches. Long, straight strokes on flat panels; gentle X-patterns on curves. Each pass overlaps the previous one by roughly half its width.
- Rinse often. Every 30 seconds or so, dip the paper in the rinse bucket and flood the panel again. The slurry needs to stay thin and fluid. When you start feeling more drag than cut, you've waited too long.
- Read the swarf. The color and consistency of the slurry tells you what's being cut. Pale, milky slurry on clear coat is normal. Slurry the color of the underlying base coat means you're cutting through — stop immediately. Slurry that turns gritty and granular means the paper is failing; change it.
- Squeegee, inspect, decide. Between passes, squeegee the panel dry and look at it under angled light. A uniformly matte surface at the current grit means the previous grit's scratches are gone and it's time to step up. Glossy patches mean another pass.
- Change paper before it's done. Wet/dry paper at high grits costs little and cuts predictably for about three to five minutes before the grain dulls. Fresh paper is always faster than tired paper, even if the tired paper still looks intact.
By application
Auto clear coat
The canonical sequence is 1500 → 2000 → 3000 wet, followed by compound, then polish. Run it only after the clear coat has fully cured — usually 24 to 48 hours at room temperature, longer if it's cold or humid. Sand too soon and the coat gums up the paper, leaves swirls that won't polish out, and can peel in sheets.
For heavier orange peel, start at 1000. For freshly sprayed clear that laid down well, you can start at 2000. The 3000 stage is where a Trizact disc on a DA at low speed (about 2,000–3,000 rpm equivalent on a random orbital) cuts polishing time roughly in half compared to hand sanding, with a more consistent scratch pattern going into compound. Full sequence and block-versus-DA breakdown in the auto-body grit guide.
Lacquer and wood finish
For french-polish or rubbed-lacquer finishes on wood, the sequence is gentler: 400 → 600 → 800 → 1500 → 2000 wet, between coats and on the final coat. The water film prevents the friction that softens shellac and lacquer. Use mineral spirits as the lubricant if the finish is solvent-sensitive — water can raise grain through pinholes in the film.
3D prints (PLA, resin)
Print lines vanish on a ladder of 120 → 220 → 400 → 800 → 1500 → 2000. Start dry through 220 to flatten layer lines without softening the plastic; switch to wet from 400 on. PLA is heat-sensitive, so wet sanding doubles as cooling. For resin prints, water alone is enough — and the resin's harder surface accepts a polish far better than PLA. Cross-reference the 3D printing finishing guide for the full progression.
Plastic trim and headlights
Yellowed plastic headlights and faded trim respond to wet sanding the same way clear coat does: 600 → 1000 → 1500 → 2000 → 3000, followed by a plastic polish or compound. The starting grit depends on how oxidized the surface is — heavy yellowing wants 600 to get through the haze; light yellowing starts at 1000. Finish with a UV-stable clear coat on headlights or the haze returns within months.
Common mistakes
- Going dry on a high-grit step. A 2000-grit sheet that ran out of water for even a few strokes leaves scratches that read as a clouded patch under polish. If the panel looks dry, stop and re-flood before the next pass.
- Wrong lubricant for the material. Water on bare carbon steel flashes rust in minutes. Water on solvent-sensitive lacquer can lift the film through pinholes. Match the lubricant to the substrate.
- Skipping 1500 before 2000. 2000 cuts too slowly to remove 1000-grit scratches in any reasonable time. The middle rung exists because grit doubling is a single step in the ladder.
- Too much pressure. Wet sanding cuts with the abrasive, not the operator. Heavy pressure deflects the paper, leaves uneven scratches, and burns through clear coat twice as fast as a light hand would.
- Reusing the slurry bucket between grits. Coarse-grit fragments suspended in the working bucket will scratch right back into the panel at the next grit. Fresh bucket, fresh paper, fresh water at every step.
- Not letting the finish cure. Fresh clear coat needs days, not hours. The product data sheet specifies it; ignore it and you'll be respraying.