Guide
Sandpaper for clear coat: wet-sanding and color correction
Orange peel lives here. So does the polish that kills it.
Clear coat sanding is a narrow window with tall stakes. The finish is too hard to strip, too soft to burnish, and too recent to rush. A skipped grit step shows up the moment light hits the panel; a moment too long at 1500 and you're cutting through to the color layer below. This is the sequence, 1500 through 3000, wet, that removes orange peel and runs without erasing the panel or erasing your time.
This is the finish side of the auto-body ladder. For prep work, filler, primer, base coat, see the full auto-body grit guide. For the mechanics of wet sanding itself, the wet-sanding technique guide covers slurry reading, block versus DA, and the common ways it can go sideways.
Before you start: cure time is non-negotiable
Most clear coats need 24 to 48 hours at room temperature before you sand them. Some products call for longer: check the product data sheet. The coat needs to harden all the way through, not just skin over on top.
Sand too early and the clear gums up the paper instead of being cut by it. The result is swirl marks that don't polish out, or worse, sections of the coat that lift in sheets the moment you start the next stage. Those swirls live in the clear coat until you respray.
Patience here pays back every time.
The clear-coat wet-sand sequence
The progression is 1500 → 2000 → 3000, wet, in that order. No shortcuts. Each grit removes the scratch pattern left by the one before it; skipping one leaves a scratch pattern the next grit can't erase in any reasonable time.
1500 grit: The opener
1500 is where you attack orange peel, runs, and nibs. It cuts aggressive enough to remove surface defects fast, but fine enough that the scratches it leaves aren't visible under a coat of compound. This is the step where you get the first read on what the spray left you: smooth panels sail through; thick orange peel might need an extra pass here.
Use plenty of water. A long flat block on the panel. Light pressure: the grit does the work, not your arm. Once the matte surface is uniform under angled light, move up.
2000 grit: The refinement
2000 removes the 1500-grit scratch pattern and starts the climb toward polish readiness. This is the most-skipped step and the most-regretted skip: 3000 cuts too slowly to erase 1500-grit scratches in any reasonable time, and the scratches surface later as a faint haze under the compound. Don't skip it.
The technique stays the same: water, block, light passes, overlapping strokes. The paper is finer so it cuts slower: patience here saves labor later.
3000 grit: The final sand
3000 is the last grit before compound. The surface should leave this step uniformly matte, not glossy, not chalky, just matte. That scratch pattern is fine enough that compound removes it in the next step. Change the paper at the start of every pass here, wet/dry at this grit dulls fast, and fresh paper is always faster than tired paper.
For 3000, you have two options: hand sand with a long flat block, or use a 3M Trizact P3000 disc on a random orbital DA at low speed (roughly 2,000–3,000 rpm). The DA produces a more consistent scratch pattern and cuts polishing time roughly in half, but it takes practice not to overwork the panel. Hand sanding with a block is safer and more controlled: slower, but you won't sand through.
Technique notes specific to clear coat
Water and pressure
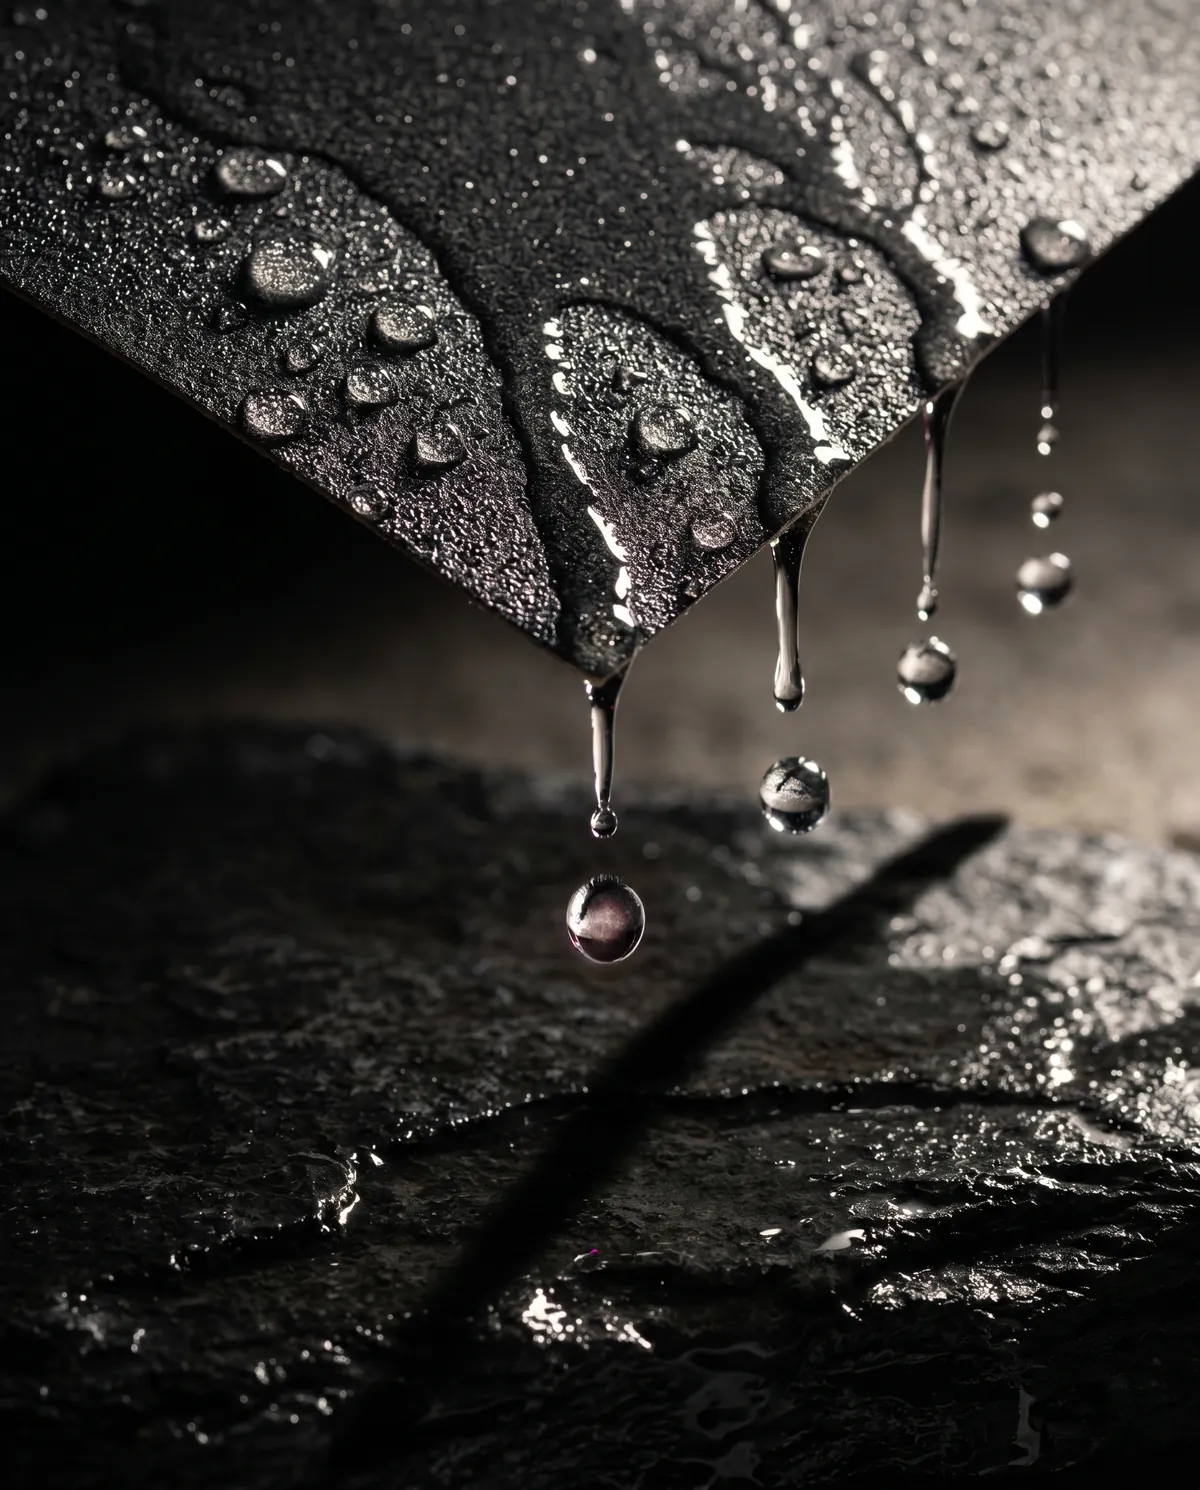
Clear coat is temperature-sensitive, so keep the water flowing. Start every pass with a wet panel, not a dry spot. And light pressure: heavy pressure on wet paper just deflects the cut, leaves uneven scratches, and burns through the coat twice as fast.
Reading the slurry
The color of the slurry tells you what you're cutting. On clear coat, you want a pale, milky slurry: that's clear coat being removed. The moment the slurry turns the color of the base coat underneath, stop. You've cut through. Respray that spot.
Check often
Between every pass at 1500 and 2000, squeegee the panel dry and look at it under angled light. A uniformly matte surface means the previous grit's scratches are gone. Glossy patches mean another pass. This check takes 10 seconds and saves hours later.
Common mistakes
- Sanding fresh clear coat. Wait the full cure time. Even 12 hours short and you're risking swirls and peeling.
- Skipping 2000. It costs time now and hours later when the 1500 scratches show through under the polish.
- Too much pressure. Let the paper do the work. Heavy pressure burns through and leaves uneven scratches.
- Reusing slurry. Coarse particles from the 1500 stage will scratch right back into the panel at 2000. Fresh water at every step.
- Dry spots. Even one pass under a dry panel leaves a scratch that reads as a clouded patch under the polish. Flood before every pass.
- Block-less hand sanding. A hand holding the paper conforms to every existing contour and locks it in. You need a long flat block for the reference surface that makes leveling possible.
From 3000 to gloss: compound and polish
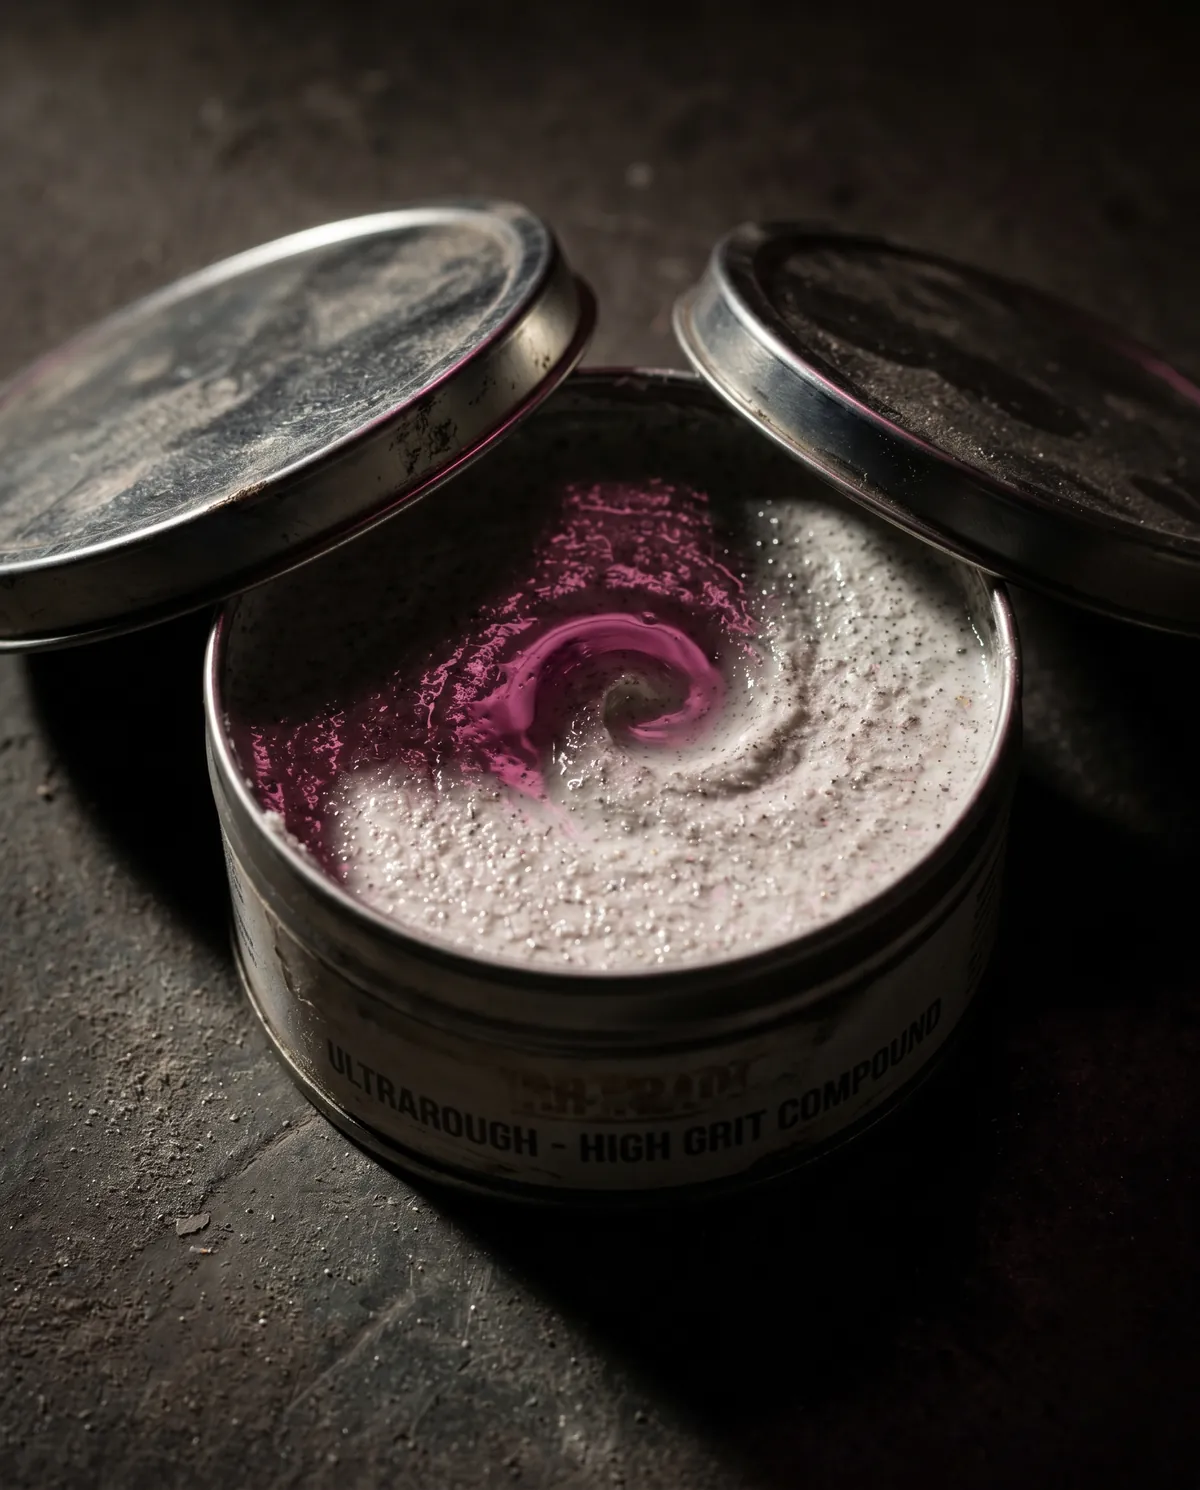
Once the 3000 scratch pattern is uniform, rinse the panel, let it dry, and switch tools. Compound on a wool or microfiber pad removes the sanding haze. Polish on a foam pad brings up the gloss. The work you did at 3000 decides what compound can do: a panel sanded only to 1500 will never compound out to mirror; a panel finished to 3000 will, with the right product.