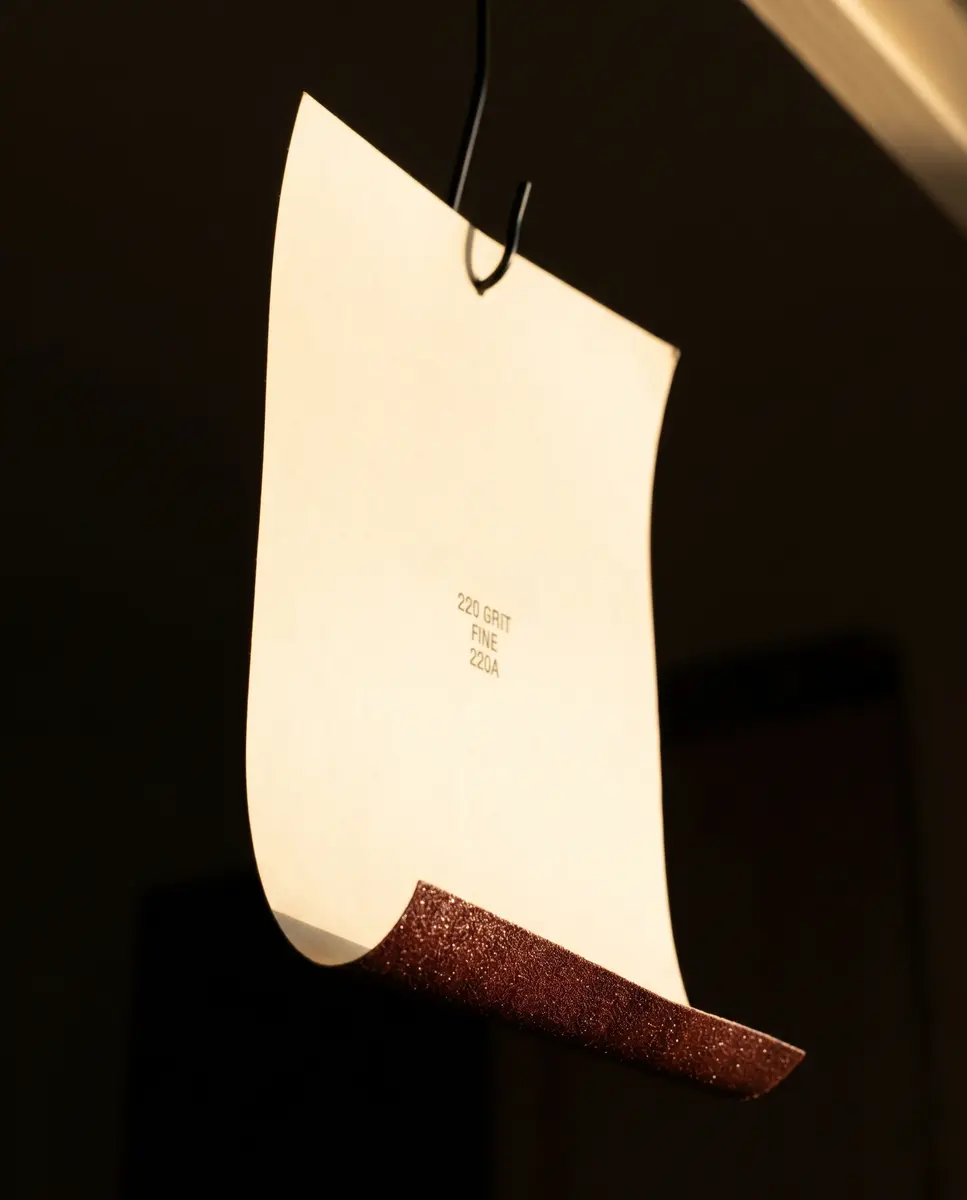
Wood finishing guide
Best sandpaper for wood.
The progression is the product. The grit number is just the delivery mechanism.
Wood is the highest-volume use case for sandpaper, and it's where choices matter most. Start with the wrong grit and you're either burnishing the surface or tearing the grain. Skip a step in the progression and the scratches appear the moment finish hits the wood. Use the wrong form factor and the job takes three times as long as it should.
This is how to pick the right sandpaper by wood type, by project, and by finish. No guessing.
The grit progression for wood
Wood finishing is always a sequence. You remove the scratch pattern from the previous grit with the next one, step by step, until the surface is ready for finish. The sequence depends on where you're starting and where you're going.
| Raw wood | → Pre-stain | → Pre-finish |
|---|---|---|
| 80 | 120 | 180 |
| 100 | 150 | 220 (stain) |
| Rough stock removal | Prep for color | Prep for clear coat |
For hardwoods (oak, maple, walnut, cherry), the full sequence is 80 → 120 → 180 → 220. For softwoods (pine, fir, spruce), shift up: 100 → 150 → 180. Softwood tears more easily than hardwood; starting at 80 on pine leaves deep scratches that take real work to remove.
The key: never skip more than one grit. Skipping two (say, 80 to 180) leaves a scratch pattern from the coarse grit that's invisible until the stain or finish wets it. Then it reads as dark lines in the grain that no amount of stain-stripper will fix.
By wood type and grain structure
Open-grain hardwoods (oak, walnut, ash)
Start at 80 unless the surface is already flat, then 120. Open-grain woods sand cleanly and reward the full progression. Use ceramic abrasives when you can (Norton Blaze, 3M Cubitron II) because the tight grain is aggressive on particle-shedding; ceramic cuts longer and more consistently.
Pre-stain sequence: 80 → 120 → 180. Stop at 180. Going to 220 closes the pores and reduces stain absorption, which reads as a lighter, more uneven color.
Pre-finish sequence: 80 → 120 → 180 → 220. The final 220 pass is by hand, with the grain, to remove any swirl pattern left by the orbital sander.
Close-grain hardwoods (maple, cherry, holly)
These woods are denser and more uniform. Start at 100 or 120 and work through 180 before staining. Close-grain woods are more forgiving of grit skipping because the tight pore structure hides some scratches, but don't rely on it. The full sequence still matters.
Maple in particular is unforgiving under finish; hand-sand the final pass to ensure the surface is truly uniform. Any machine marks that make it through will be visible forever.
Softwoods (pine, fir, spruce, cedar)
Start at 100 or 120. Never 80 on softwood; you'll cut too deep too fast. The sequence is 100 → 150 for staining, or 100 → 150 → 180 for painting. Softwood is porous; going finer than 150 before stain doesn't help, and finer grit doesn't improve paint prep because the primer will fill the grain anyway.
Cedar and redwood: these are softer even than pine. Start at 120 and do not skip grits. The grain is also more prone to blotching, so a pre-stain wood conditioner is worth the cost.
Reclaimed, hand-hewn, and heavily figured woods
Treat these as extra-coarse starting points. Reclaimed wood has old finish, nails, and grain damage from years of service. Start at 60 or 80 and expect a long first pass. For heavily figured woods (curly maple, quilted walnut), the grain is unstable and prone to tear-out; go slower, lighter passes, and use the sharpest abrasive you can afford.
By finish type
Before stain
Stain requires an open surface. Sand to 180-grit on hardwoods, 150-grit on softwoods. Stop here. Going finer closes the pores and reduces absorption, which means your stain will come out lighter and more uneven than you planned.
Hand-sand the final pass. Machine marks in the 150–180 range are invisible dry but show up the moment stain wets the surface.
Before paint or primer
Primer fills the grain, so you don't need to sand as fine as you would for stain. 150-grit is sufficient for most paint prep. If you're painting softwood or MDF, 120 is fine. The primer does the real work; your job is to break the gloss and remove any mill marks, not to create a perfect surface.
If you're doing a stained-then-painted finish (base stain, then topcoat paint), sand to 180 before stain, then 180 or 220 before paint.
Between coats of clear finish
This is where 220-grit lives. You're not removing material; you're scuffing the surface to degloss it and knocking down dust nibs and brush marks. Light pressure, with the grain, until the sheen turns matte. Wipe clean with a tack cloth before the next coat.
If you're using waterborne finish (water-based polyurethane, lacquer, acrylic topcoats), use 320-grit between coats. Waterborne raises the grain aggressively, and the finer grit leaves a better base for the next coat.
Final pass before topcoat
220-grit by hand, with the grain. Period. Machine sanders leave a swirl pattern that's invisible dry and glaringly obvious under finish. Random orbital sanders are fast; hand-sanding the last pass is the difference between a piece that looks handmade and one that looks mass-produced.
Sheets vs. discs vs. belts
Sheets (9×11 inches)
Best for: hand-sanding, detail work, final passes with the grain. A sheet gives you control and is easy to wrap around blocks for edge work. Use a sanding block to distribute pressure evenly; bare-handed sanding creates low spots.
Buy in variety packs (assorted grits) for general work, or in bulk at single grits for specific stages. A 50-pack of one grit means you're never rationing or switching grits mid-pass.
Discs (5-inch hook-and-loop)
Best for: random orbital sanders on large surfaces. A 5-inch disc paired with a random orbital sander covers area fast and leaves a uniform scratch pattern. Hook-and-loop backing means grit changes are seconds, not minutes.
For wood, a 50-pack of 120-grit will disappear fast. Hook-and-loop discs don't last as long as glued-on abrasives, but the convenience of clip-and-go is worth it. Change grits freely without destroying the backing pad.
Belts (3×21 or 4×36 inches)
Best for: benchtop belt sanders on large, rough surfaces. Belts remove material faster than any other form factor but are unforgiving; a few seconds of pressure in one spot creates a low spot that's visible in the finished piece. Use belts for the rough work (80 and 100 grit), then switch to discs or sheets.
Ceramic vs. aluminum oxide vs. garnet
Material matters on hardwoods. Ceramic (Norton Blaze, 3M Cubitron II) has sharper grain and lasts 2–3 times longer than aluminum oxide. The cost is higher, but on heavy stock removal (80 and 120 grits), the time savings justify it.
Aluminum oxide is the standard for everything else: it's cheap, consistent, and fine for softwoods and paint prep. Garnet is outdated and shouldn't be on your shelf.
Silicon carbide (wet-dry papers) is not for wood. It's for auto-body work and polishing; using it on wood is expensive waste.
Common mistakes
- Starting too fine. A 120-grit starting point on rough lumber leaves you sanding all day. Start at 80 or even 60 if the wood is rough. The coarser grit removes the problem faster and leaves the same scratch pattern you'd chase forever with 120.
- Skipping grits to save time. 80 to 220 feels efficient until the stain wets the surface and every scratch from 80 reads as a dark line. Work through the sequence. It takes an extra 30 minutes; the difference is permanent.
- Using worn-out paper. A dull sheet burnishes wood instead of cutting it. A glazed surface takes stain poorly, holds finish poorly, and accepts paint unevenly. Change the paper when it stops cutting. The cost of a fresh sheet is nothing compared to the refinish.
- Not cleaning between grits. Dust from the previous grit rides under the next sheet and scratches the surface. Vacuum and tack-cloth at every grit change. It takes 90 seconds and saves the whole piece.
- Machine-sanding the final pass. Random orbital sanders at 220 leave swirls. They're invisible dry. They show up under any finish, forever. Hand-sand the last pass with the grain.
- Oversanding before stain. Going to 220 on hardwood before stain closes the pores and weakens color. Stop at 180 on oak or maple. The grain needs to stay open.