Tool guide
DeWalt DWE6423 orbital sander: pads, grits, and what it is best for
The sander is obedient. The disc does the interesting work.
The DeWalt DWE6423 is a 5-inch random orbital sander with a 3A motor, variable speed, and a dust bag for keeping the debris under some kind of control. It removes exactly as much as you tell it to, provided you let the abrasive do the cutting instead of leaning on the machine.
For the short version: buy 5-inch Hook & Loop discs. Start at 80 or 120 for wood, 120 or 150 for paint prep, and climb into the finer grades for clear coat. The pad is standard. The choice of disc is where the finish is decided.
DWE6423 specs that matter
| Spec | What it means at the surface |
|---|---|
| 5-inch pad | Use 5-inch discs. The common size gives you a wide, manageable sanding footprint. |
| Random orbital motion | It spins and oscillates, so it covers evenly without committing to one visible circular path. |
| 3A motor | Enough working power for normal wood smoothing, paint prep, and finishing passes. |
| Dust bag collection | Useful for ordinary shop cleanup. Empty it often and still use appropriate respiratory protection. |
What sandpaper fits it?
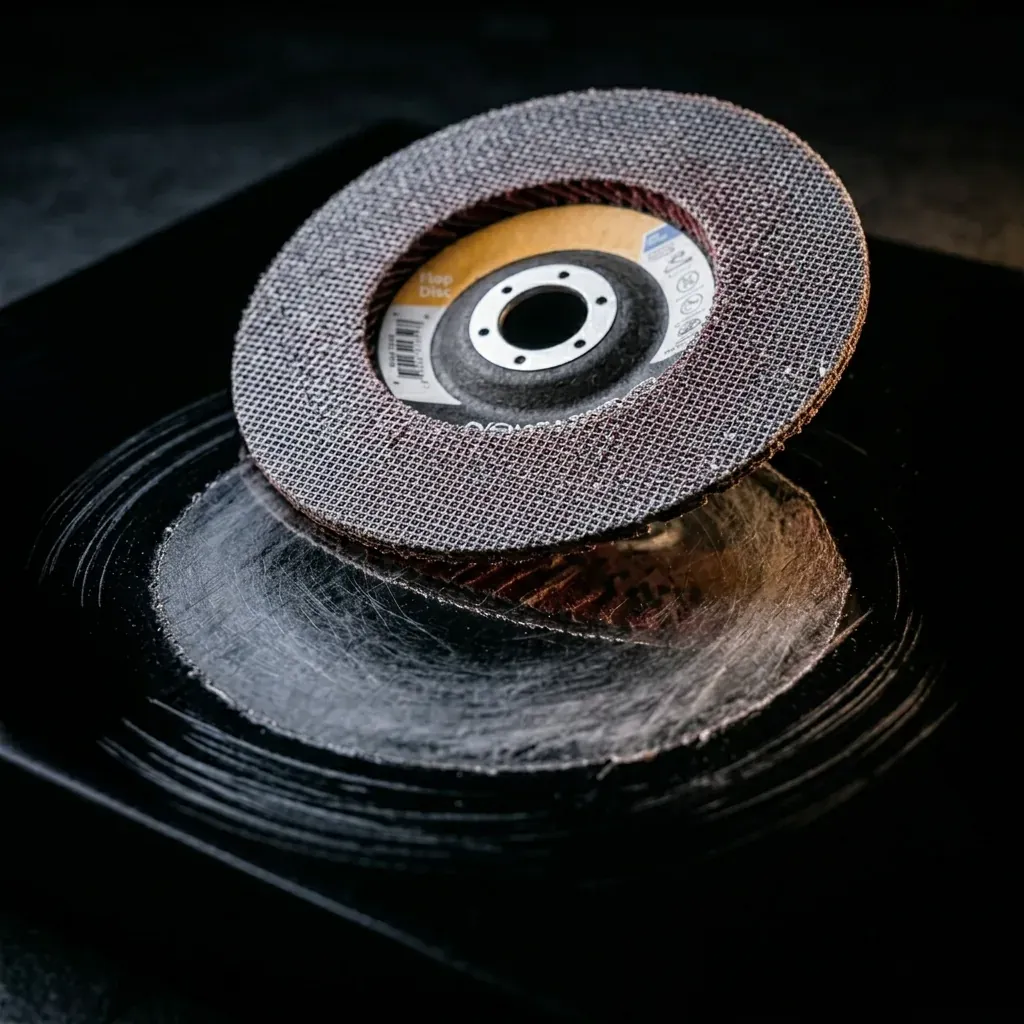
The direct-fit choice is a 5-inch Hook & Loop sanding disc. Press the disc onto the pad, line up the holes, and change grits without replacing the backing pad. This is the setup the DWE6423 is built around. A clean fit matters: a loose edge or badly centered disc makes the machine feel rough before the abrasive has had a chance to speak.
PSA means pressure-sensitive adhesive. PSA discs stick to a PSA-compatible pad or block. They are not the direct-fit paper for the DWE6423's stock Hook & Loop pad. Do not put adhesive paper on the Hook & Loop face and expect a tidy, repeatable setup. Choose one attachment system and keep it consistent.
For a first stack, a sensible climb is 80 → 120 → 150 → 180 → 220 for wood, with only the grades the surface actually needs. The disc is disposable. The scratch pattern is not.
The grit sequence by project
Wood finishing
Start at 80 grit on rough boards or visible mill marks. Start at 120 when the wood is already flat. Move to 150 or 180, then finish bare wood at 180 or 220 depending on the species and finish. On the final pass, use light pressure and keep the sander moving. The DWE6423 is quick enough to make over-sanding feel like progress.
For a reliable hardwood sequence, use 80 → 120 → 180 → 220. On softwood, 100 → 150 is often enough before stain. Vacuum between grades. A stray coarse grain under a fine disc is a tiny piece of sabotage with excellent timing.
Paint preparation
Use 120 grit to dull a sound painted surface and 150 or 180 for the final feathering around repairs. If you are removing stubborn old paint, start coarser only where necessary, then work through the scratches before primer. Keep the pad flat and let the abrasive cut. Pressure makes heat, not authority.
Clear coat and finish work
Use 320 to 600 grit for clear-coat leveling and refinement, choosing the lower end when you need to remove a defect and the higher end when you are preparing for polish. Confirm that the coating is cured before sanding it. For automotive clear coat, wet-sanding technique and lubrication matter as much as the number on the disc. The machine is not an invitation to hurry.
DWE6423 vs. DWE6421
The practical difference is the attachment system. The DWE6423 uses Hook & Loop discs, so grit changes are quick and the paper is easy to remove. The DWE6421 uses PSA discs, which adhere to its compatible pad and stay put until you peel them away.
| Choose | When it makes sense |
|---|---|
| DWE6423 | You change grits often, want standard 5-inch Hook & Loop discs, or keep several abrasives ready. |
| DWE6421 | You already buy PSA discs and prefer the adhesive-backed system for a particular workflow. |
Neither attachment wins the sanding job by itself. The DWE6423 is the less fussy choice when the project moves through several grits. That is most projects.
A setup that will not waste paper
- Start with the coarsest grit that can do the job without gouging the surface.
- Keep the pad flat and use light, even pressure. Let the grain make contact.
- Change the disc when it stops cutting. A glazed disc polishes the problem instead of removing it.
- Vacuum the surface before moving to the next grit. Do not drag yesterday's scratches into today's finish.
- Slow the machine down for delicate work and edges. The variable-speed control is there to be used.